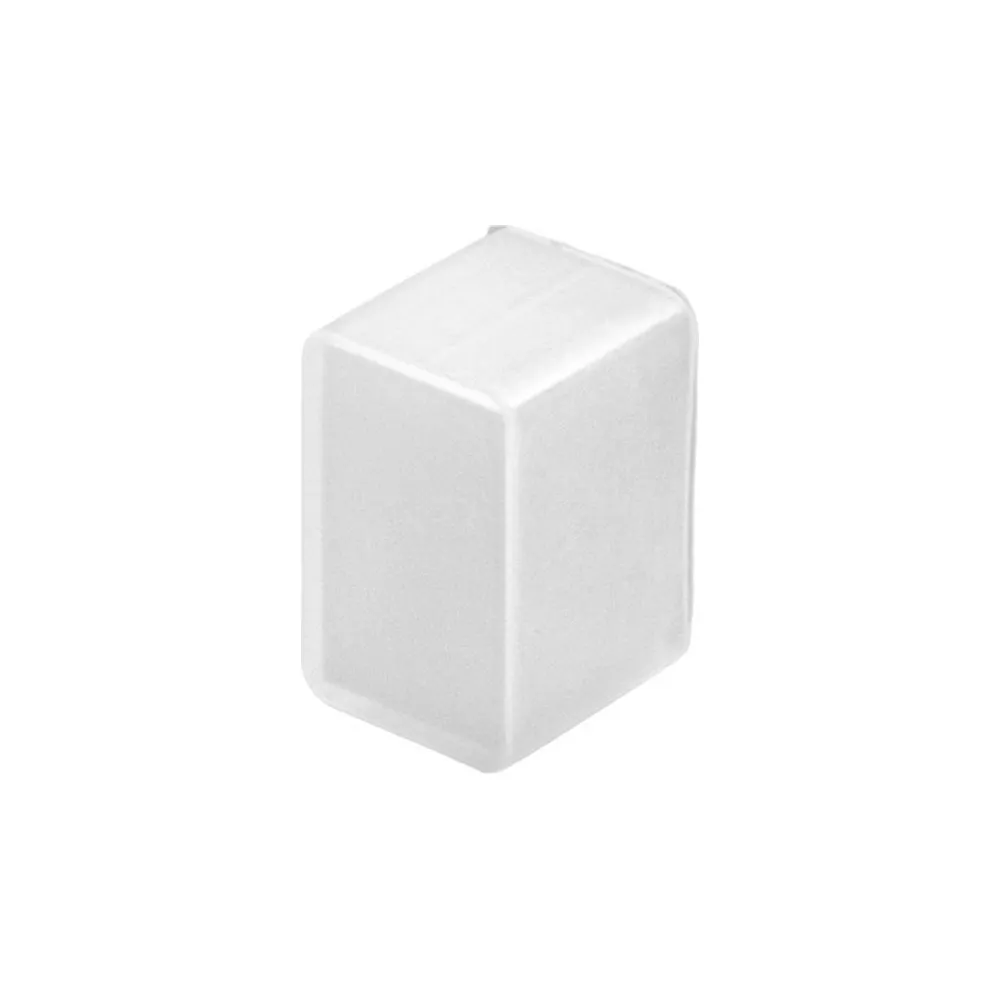
What this end cap isThis is the closed terminal cap for
side-view flexible LED neon — the finishing piece that seals the cut end of a run. Unlike the drilled version used at the feed end, this cap has no hole, so nothing passes through it: it simply closes the open silicone channel where the flex was cut. In practice, every neon flex run has two ends. One receives the power lead and uses a capped or drilled fitting; the other is a dead end and needs a solid, sealed finish. That dead end is what this piece is for, and it is sold individually so you order exactly the quantity your layout calls for, no more.
Why sealing the end mattersFlexible neon is an extruded silicone body wrapped around an LED strip. Leave the cut end open and you have created an entry point. Dust settles on the emitters, insects find their way in, and humidity condenses inside the channel — the single most common cause of premature failure in
LED neon flex installs. A properly bonded end cap removes that risk and, just as importantly, gives the run a finished, factory-looking edge instead of a raw silicone cut. On signage and backlit letters, where the ends are often visible at eye level, that detail is the difference between a professional job and an obvious one.
Fit and compatibilityEnd caps are profile-specific. Match the cap to both the cross-section and the viewing direction of your neon flex before ordering.
Side-view neon (also called side-bend) bends left and right along its flat face and has a different body shape than top-view neon, which bends up and down. The two are not interchangeable. If your run is top-view, use the
Flex neon endcap – top view (without hole). If your project uses squared neon profiles, the accessory range also includes the
Flex neon endcap 3x6 (with hole) and the
Flex neon endcap 6x6 (with hole) for feed ends, plus their no-hole counterparts for finishing ends.
Installation, step by stepCut the neon flex squarely at a marked cut point — an angled cut will leave a gap the adhesive has to fill. Wipe the end clean and let it dry completely; silicone bonds poorly to dust or moisture. Apply a bead of compatible
silicone adhesive or sealant inside the cap, press it fully onto the neon until it bottoms out, then wipe away the excess before it cures. Let it set completely before powering up or mounting the run. For damp or wet-location rated installs, inspect the perimeter afterward: the seal must be continuous and uninterrupted all the way around the cap, with no pinholes or skipped edges. A second thin bead around the joint line is cheap insurance on exterior work.
Where it earns its keepThink garage and workshop perimeter lighting, basement and cove accents, under-cabinet and stair details, storefront window signage, backlit logos and channel letters, bar fronts, gym and showroom feature walls, and exterior accent runs along soffits and railings. Canadian exteriors go through freeze-thaw cycles and driving rain, so sealed terminations are not optional on outdoor work. Keep a few spare caps in the van or on the shelf: layouts change, corners get re-cut, and having the right finishing hardware on hand avoids leaving an unfinished end on an otherwise polished install. For standard extrusion profiles rather than neon flex, the range also includes the
Finishing end cap #11 (no hole).