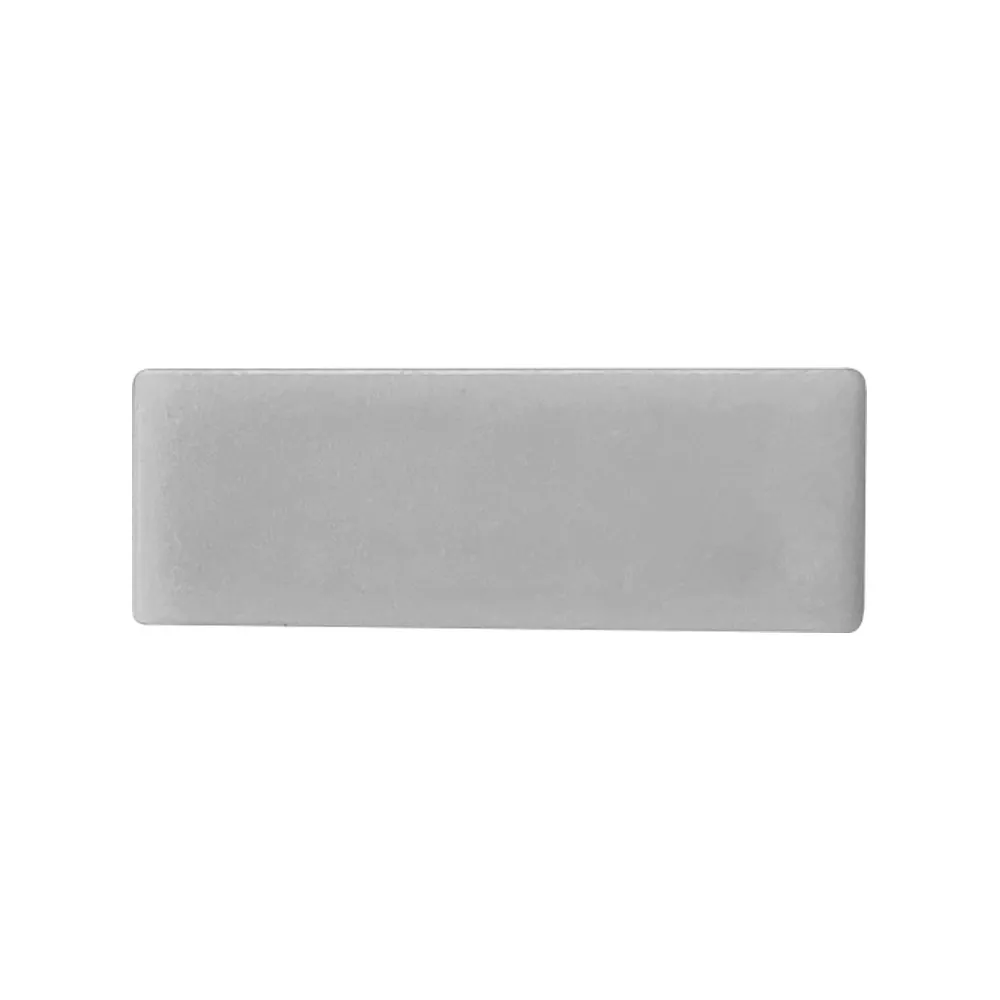
What this end cap isAn LED channel is an open aluminum extrusion: cut it to length and you are left with a raw, hollow end that shows the strip, the wiring and the edge of the lens. The
finishing end cap #11 (no hole) closes that opening. It is the blind, solid version — no wire notch, no cable grommet — so the end of your run reads as one continuous, finished line instead of an open channel. Sold as a single unit under SKU
LCENDCAP-STAND-11, it lets you buy the exact count your layout calls for rather than a fixed kit.
No hole vs. with holeMost runs use one of each. The
no-hole cap goes on the "dead" end where nothing exits, and the drilled version goes on the end where the power lead, the connector or the jumper cable passes through to the driver. On a run fed from the middle, or on a run that turns a corner with a jumper between two segments, you may need several blind caps and only one or two with a hole — plan your quantities from your actual cut list. The matching drilled cap for this profile is the
Finishing end cap #11 (with hole).
Fit and compatibilityThis is the key point with any
LED profile accessory: end caps are profile-specific. This cap is designed for the #11 extrusion and follows its cross-section exactly. A cap made for another channel shape or another width will not seat properly, will sit proud of the aluminum or will simply fall off. Before ordering, look at the profile of your channel — its outside shape, its width and its depth — and match the cap to it. If your project uses a different extrusion, the
Finishing end cap #12 (no hole) covers another profile style, and flexible neon runs use their own dedicated caps such as the
Flex neon end cap 6x6 (without hole) and the
Flex neon end cap 3x6 (without hole).
Installation, step by stepWork in the right order and the result is seamless. Cut and mount the channel first, run and connect your wiring, seat the
LED strip inside the extrusion, slide in the diffuser, then press the end cap on last so the lens stays flush with the face of the cap. A friction fit is usually enough and keeps the run serviceable — handy if you ever need to pull the strip for a repair or an upgrade. For vertical surfaces, stair nosings or high-traffic commercial areas where the cap could be bumped, many installers add a small drop of adhesive for a permanent hold. Keep a couple of spares in the truck: caps are the easiest part to lose on site and the most visible one when it is missing.
Where it is usedAnywhere the end of a strip run is in someone's line of sight. Kitchen
under-cabinet lighting and island toe-kicks, cove and ceiling details in living rooms and hotel corridors, display cases and retail shelving, closets and pantries, stair nosings, reception desks, bar fronts and backlit signage. In a renovation, it is the detail that separates a tidy job from an unfinished one — and it protects the strip and the cut edge of the aluminum at the same time. This item has no spec sheet in the Documentation tab; if you are unsure which cap matches your channel, compare the cross-section of your extrusion with the product photo before ordering.