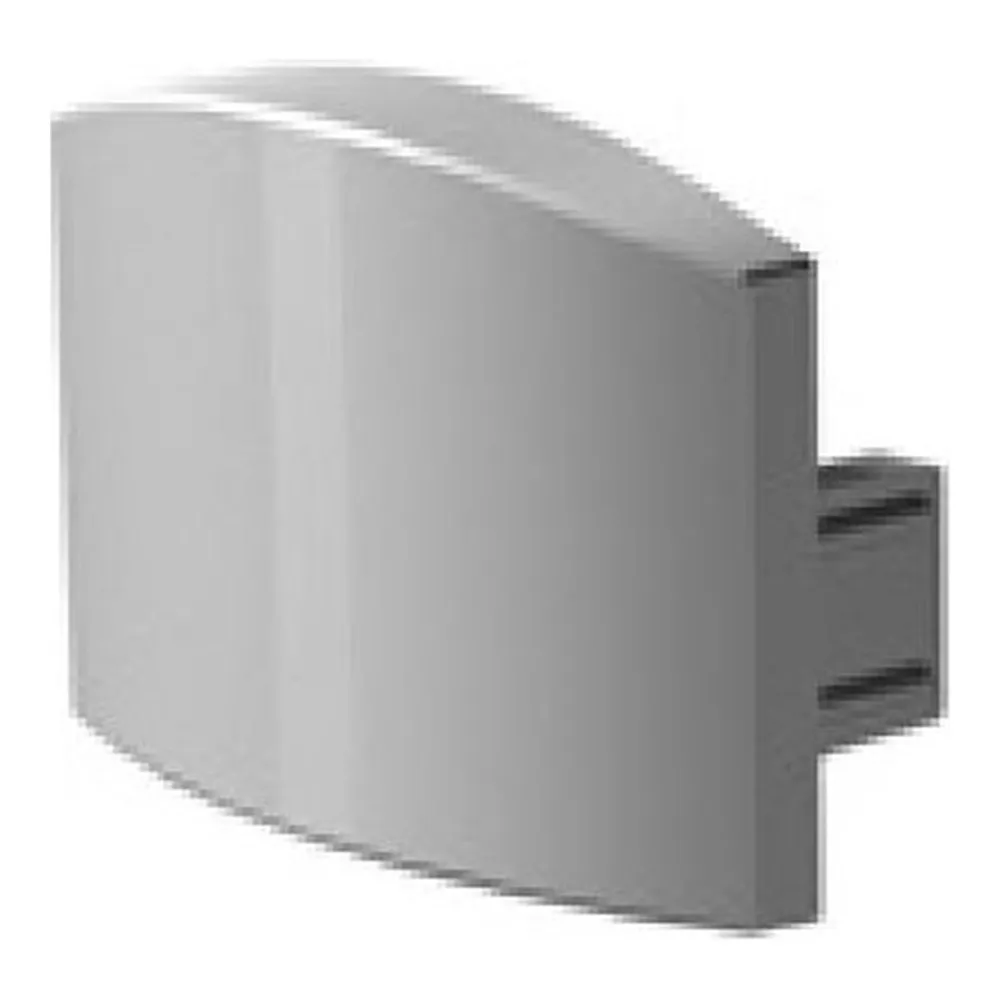
A small part that decides how professional the whole run looksAn aluminum LED channel is only as convincing as its ends. Cut an extrusion and you are left with an open profile: you can see the inside walls, the back of the
LED strip, the wires and the edge of the diffuser. A finishing cap closes that opening and squares off the line. This is the #12 profile shape in blank form — no cable opening, nothing to align, just a solid face that caps the extrusion. Paired with a matching drilled cap at the feed end, it completes the run from one end to the other and gives you the crisp termination people expect from architectural
linear LED lighting.
Design and compatibilityEnd caps are not universal. Each profile family has its own cross-section, wall thickness and diffuser channel, so the cap has to be matched to the channel series you are installing — here, the #12 shape. Fitted to the right extrusion, it sits flush with the profile walls so there is no lip, no shadow gap and no sharp edge to catch a finger or a tea towel. The cap works the same way whether your channel is
surface-mounted under a cabinet,
recessed into drywall or millwork, or
suspended over a desk or island. Several profile styles and finishes are offered across the range, so keep the model number handy when you are ordering replacements or extending an existing installation.
Technical specificationsSKU: LCENDCAP-STAND-12
Type: finishing end cap, #12 profile shape
Configuration: solid, no cable hole (blank)
Use: closed end of an aluminum LED profile
Sold as: 1 unit
Mounting: friction fit, adhesive or silicone optional
Category: End caps, lenses and accessories
Installation, step by stepWork in the right order and this takes seconds. Cut and mount the channel first, seat the
LED strip inside, snap in the diffuser, then fit the end caps last so nothing is trapped or pinched. Most caps of this style press in by hand — no tools, no screws — which also means you can remove one later to pull the strip for service. After several removals the friction fit can loosen; a small dab of adhesive or silicone holds it permanently and seals the end against dust, insects and drywall powder. Use the
no-hole cap at the closed end and a drilled cap where the wiring exits toward the driver. On a long run split into sections, plan two caps per section and order the exact count before you start, so you are not chasing one missing piece at the end of the day.
Where it shines, and what goes with itUnder-cabinet lighting in a
kitchen renovation, vanity and mirror lighting in a bathroom, stair nosings, hallway cove lighting, closet strips, retail shelving and display cases, reception desks, restaurant banquettes, garage and workshop benches — anywhere a Canadian homeowner, contractor or small business runs an aluminum profile, the ends need finishing. For other profile shapes in the same family, look at the
Finishing end cap #11 (no hole) and the
Finishing end cap #11 (with hole). If your project uses flexible neon rather than aluminum channel, the matching accessories are the
Flex neon endcap 6x6 (without hole) and the
Flex neon endcap 6x6 (with hole). No documents are listed for this accessory; when in doubt, match the cap to your channel profile before ordering.