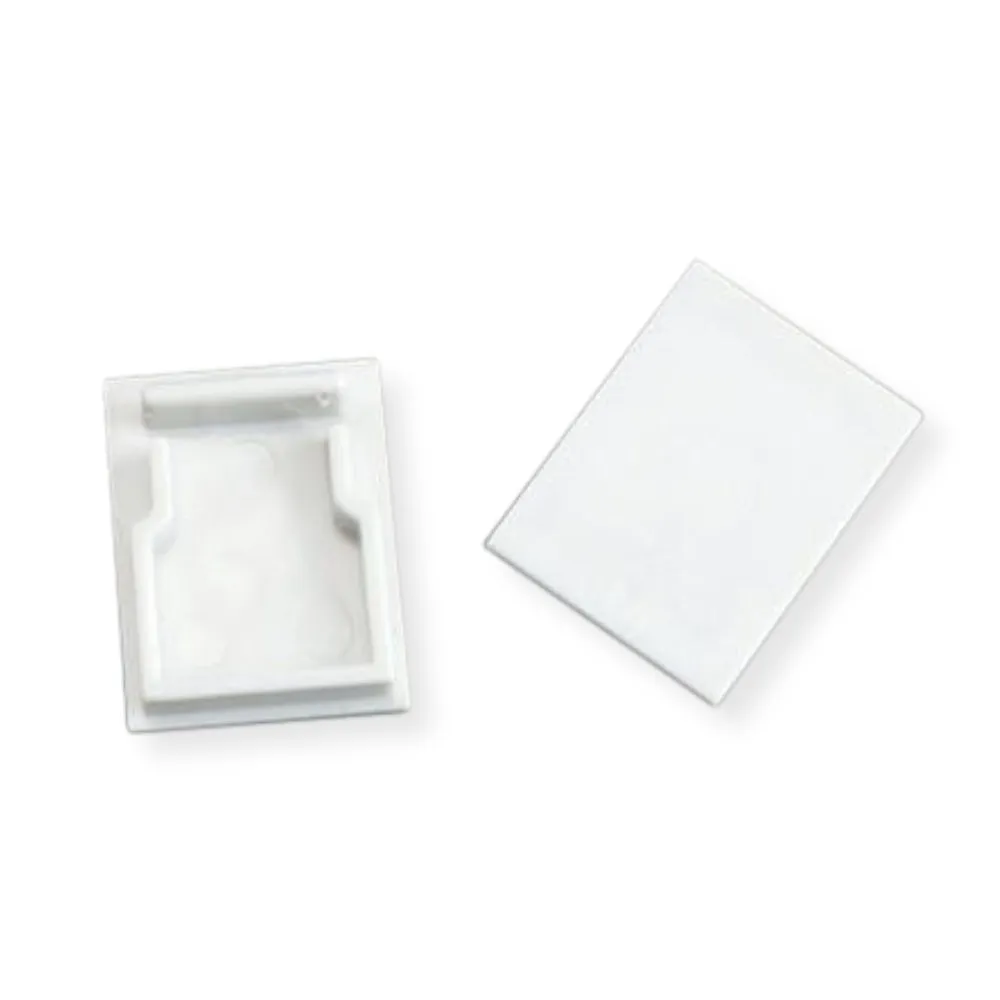
What this end cap isThis is a single finishing end cap in the #87 standard profile shape, supplied without a hole. In a typical
LED channel installation you use two caps per section: one with an opening so the power lead can exit the extrusion, and one closed cap — this one — at the terminating end. Together they seal both ends of the aluminum profile so the run looks complete from end to end, with no exposed cut edge and no visible LED tape sticking out past the diffuser.
Fit and compatibilityEnd caps are profile-specific. The cap must physically match the cross-section of the extrusion, which means the #87 cap belongs to the #87 channel family and won't substitute for another shape. Across a channel line-up there are several profile styles, and each one has its own matching cap, so the safest approach is to identify the channel model first and then order the cap that carries the same profile number. If you're unsure, compare the cap outline with the open end of your extrusion before committing to a full order. For flexible neon rope instead of aluminum, the correct accessories are the neon caps:
Flex Neon endcap side view without hole and
Flex Neon endcap top view without hole. For a different aluminum profile, see the
Finishing end cap #11 (no hole) and its drilled counterpart, the
Finishing end cap #11 (with hole).
Installation, step by stepMeasure and cut the channel to length, then deburr the cut edge so the cap can seat squarely — a quick pass with a file is usually all it takes. Install the
LED strip inside the channel, route the power lead through the open-end cap, then clip in the diffuser. Finish by pressing the closed cap into the terminating end until it sits flush with the extrusion. Do a light press-fit test before the channel is mounted: it's far easier to adjust a burr or a tight fit on the bench than on a fixed run overhead. For installations in high-traffic areas, above head height, or anywhere the cap could be bumped, a small dab of adhesive on the inside face keeps it from working loose over time.
Where it gets usedThis accessory shows up in almost every linear lighting job: under-cabinet and over-cabinet lighting in kitchens, cove and tray ceiling details, stair and hallway accents, closet and pantry runs, bathroom mirror surrounds, display cases, retail millwork and shelving, reception counters, office desks and workstations. Long runs that are cut into several sections need a pair of caps per section, so count them at the take-off stage rather than after the channel is already installed. Contractors working multiple units — condos, clinics, boutiques — usually keep a handful of spares in the van, since a missing cap is the one thing that makes an otherwise perfect installation look unfinished.
Ordering and documentationSKU LCENDCAP-STAND-87 is sold as one unit, so order the quantity your project calls for: two per channel section if you're closing both ends, or one closed cap plus one drilled cap where a power feed is required. No documentation file is attached to this accessory page — for profile dimensions and cut details, refer to the spec sheet of the aluminum channel it belongs to.