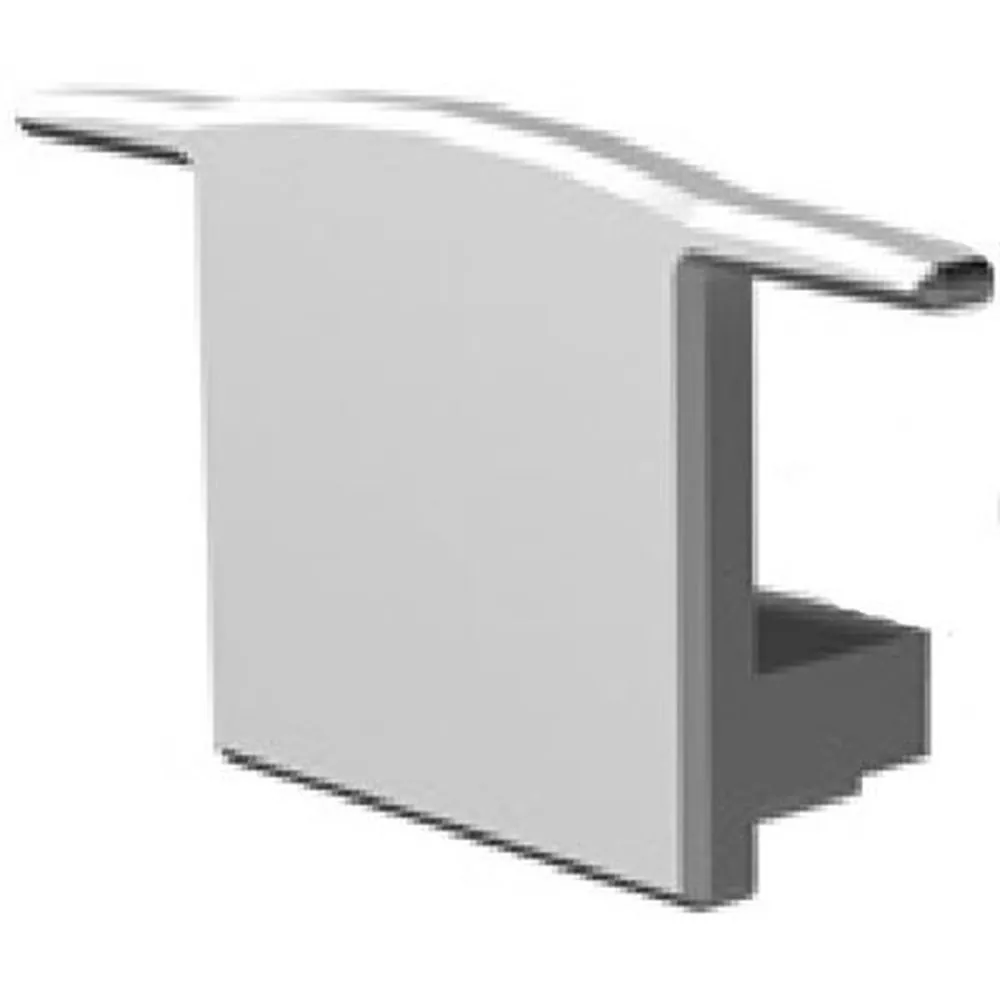
What an end cap actually doesAn end cap is the final piece of an
LED strip channel system. Aluminum extrusions are almost always cut to length on site, and that cut leaves a raw, open end showing the internal channel walls, the edge of the diffuser and sometimes the tape itself. The
finishing end cap #15, SKU
LCENDCAP-STAND-15, covers that opening so the profile looks intentional. Fitted at both ends of a run, it squares off the fixture, gives the whole length a uniform edge, and helps hold the
diffuser and LED tape in place so nothing creeps or lifts after a few thermal cycles.
Protection and neat wiringLooks are only half the story. A closed end keeps dust, insects and debris out of the extrusion — a real concern in kitchens where grease-laden dust migrates, in workshops full of fine sawdust, and in storage areas that get cleaned rarely. Solid caps seal the end completely, while
wire-entry end caps (the versions with a hole) let the low-voltage lead exit discreetly so the connection is hidden inside the channel rather than dangling at the end of the run. That hole also acts as a simple strain relief point, reducing tugging on the solder pads or the connector where the
LED tape meets its lead wire — one of the most common failure points in strip installations.
Compatibility is by profile, not by guessworkEnd caps are
profile-specific. Each one is moulded or machined to match one particular channel shape and size, so this #15 standard cap should be paired with the matching #15 extrusion family. Several styles and sizes exist across recessed, surface-mount and corner profiles, and because caps are sold individually you can order exactly what a job needs — two per finished run, one to replace a lost piece, or a small handful kept in the van for callbacks. If your project also involves other profile families, the
Finishing end cap #11 (no hole) and
Finishing end cap #11 (with hole) cover the #11 profile, while flexible
neon rope runs are finished with dedicated caps such as the
Flex neon endcap 6X6 (without hole) and the
Flex neon endcap 6X6 (with hole).
Installation, step by stepCut the extrusion with a fine-tooth blade — a mitre saw with a non-ferrous or fine-tooth metal blade gives the cleanest result — then file or deburr the edge smooth so the cap seats flat. Dry-fit the cap before committing: it should slip on without forcing and sit flush with the profile face. Where the fixture is exposed to vibration, frequent cleaning or curious hands, a small dab of adhesive locks it in place. Good practice is to glue one end and leave the opposite end removable, so the tape, diffuser or lead wire can be serviced later without destroying the trim. For wire-entry caps, thread the low-voltage lead through before final assembly and leave a little slack inside the channel.
Where it gets usedUnder-cabinet kitchen lighting, millwork and cabinetry accents, display cases and retail shelving, cove and ceiling details, stair nosings, closets, offices, basement renovations, garage workbenches and commercial signage — anywhere a cut aluminum channel would otherwise show an open end. Homeowners notice the difference at eye level; contractors and shop owners notice it on the punch list. Keeping a few caps on hand is one of the cheapest ways to make an
LED strip lighting job look professionally finished from the very first glance.