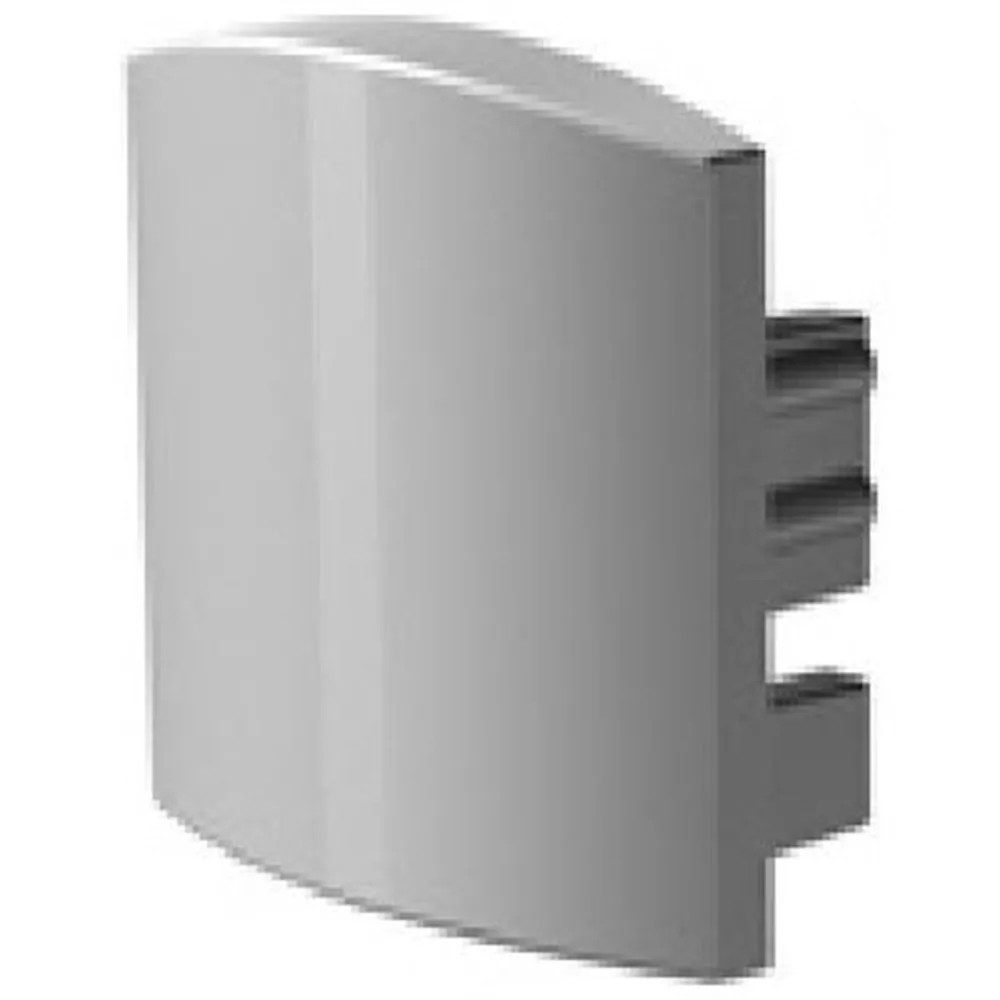
What this end cap isThis is a solid finishing cap for aluminum LED extrusion, sold individually (1 unit) as SKU
LCENDCAP-STAND-14. It belongs to the #14 standard profile family and has no wire opening, which makes it the closing piece of a run. Most installations use the same logic: one solid cap at the closed end and one cap with a hole at the supply end, where the low-voltage lead exits toward the driver. Because it is a small accessory, it is easy to forget on a take-off — yet it is the detail that separates a finished
LED channel from an unfinished one.
Fit and compatibilityEnd caps are profile-specific. The cap must match the exact cross-section, shape and size family of your extrusion for a flush result with no gap around the diffuser. Before ordering, compare your channel's profile number and its silhouette with the cap: a recessed profile, a surface profile and a corner profile all take different caps, even when they look similar at a glance. If you are running
flexible neon instead of rigid aluminum, use the matching neon caps such as the
Flex neon endcap 3x6 (without hole), the
Flex neon endcap 6x6 (with hole), or the side-view and top-view versions. For another standard extrusion size, the
Finishing end cap #11 (with hole) covers the supply side of that family.
Protection and appearanceA capped channel is not only prettier, it performs better over time. Closing both ends limits how much dust and debris reaches the
LED strip and the inside face of the diffuser, so the light stays clean and even instead of showing dark patches and shadows after a couple of seasons. It also removes the sharp aluminum edge left by a saw cut — a real benefit under upper cabinets, along closet shelving, at the bottom of a staircase nosing or anywhere fingers can reach the profile. In display cases and retail millwork, that finished edge is what makes the lighting read as built-in rather than added on.
InstallationCut your extrusion to length, deburr the cut, then dry-fit the cap before you mount anything. A cap that slides on with light friction is ideal; if it sits slightly loose, a small dab of clear adhesive holds it securely without showing. If it is tight, press evenly across the face rather than forcing one corner, which can mark or distort the finish. Install the cap after the
LED tape and diffuser are in place, and keep the solid cap for the end opposite the driver feed. On long runs made of several sections, you only need two caps per continuous run, not two per stick — plan your quantities accordingly and always keep a spare in the toolbox.
Applications and documentationKitchen under-cabinet and toe-kick lighting, bathroom mirror surrounds, cove and ceiling coffers, wardrobe and pantry shelving, garage workbenches, retail shelving and showcases, reception counters, restaurant bar fronts and office millwork all rely on the same detail: a clean closed end. This
LED profile accessory ships as a single unit, so order the exact count your project needs. No spec sheet or IES file applies to this part; the dimensional reference is your extrusion's own profile documentation, so match the cap to the channel you are using and confirm the shape before ordering.