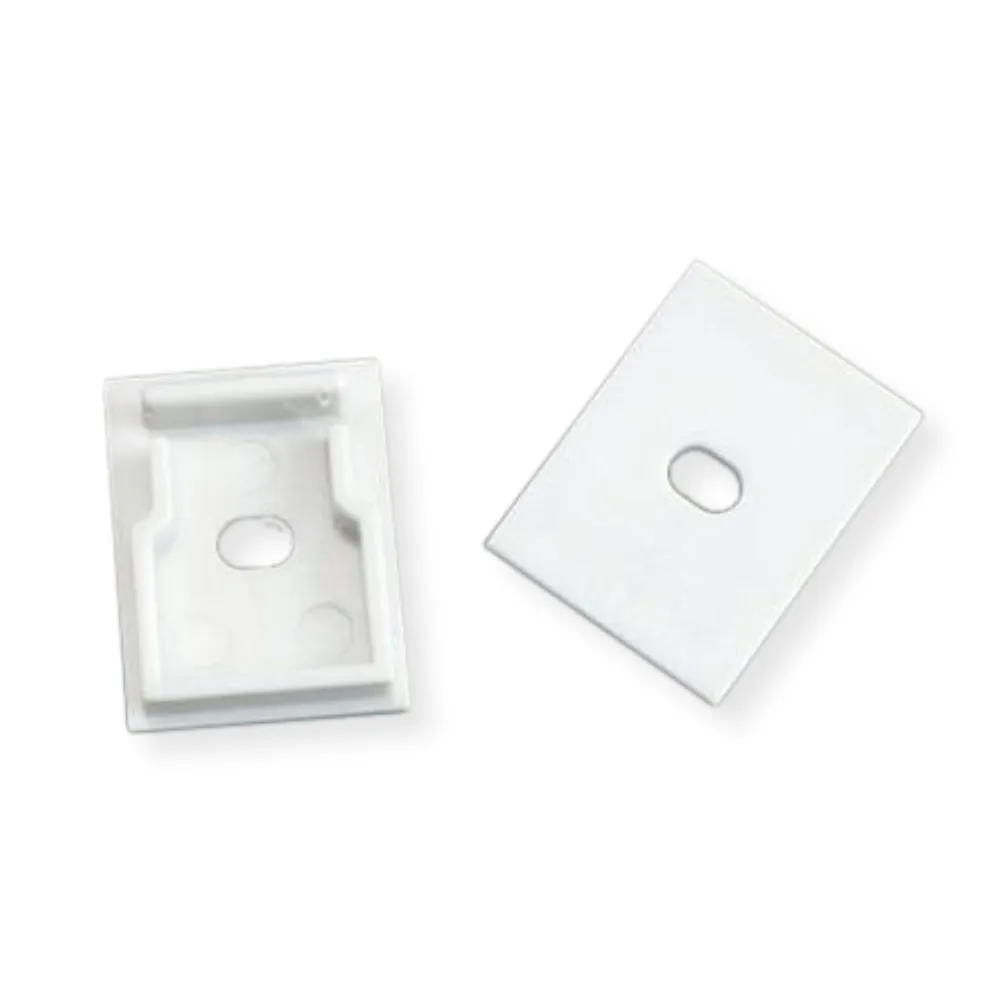
What this end cap isThis is a
finishing end cap for the
#87 standard aluminum LED profile, supplied in the version
with a hole for wire exit, sold as a single unit (1X). It closes the open extremity of an extruded
LED channel so the cut aluminum edge, the strip solder point and the wire are no longer exposed. Think of it as the trim piece of a linear lighting run: inexpensive in effort, but it is what makes the finished installation read as a real fixture instead of a piece of tape stuck in a track.
Construction and fitThe cap is built from durable material with a clean, low-profile shape that follows the outline of the channel it belongs to, so it sits flush and does not bulge past the extrusion. The hole in the face lets the supply cable pass through the centre of the cap, which keeps the conductor from being crushed between the channel end and the mounting surface. Aluminum extrusions exist in many widths, depths and styles, and each family has its own cap geometry — the
#87 cap is shaped for the #87 channel only. Before ordering, compare the cap outline with your track, or measure the opening of the extrusion you already have on site.
Light quality and why capping mattersAn uncapped channel leaks light out the end in a bright, uneven spill that draws the eye exactly where you do not want it — at the edge of a cabinet, at the end of a cove, at the top of a stair stringer. Capping both ends contains the output inside the extrusion so the
LED strip reads as one continuous, even line of light through the diffuser. The cap also mechanically retains the lens: it keeps the diffuser from sliding out over time, which matters on vertical runs, on ceilings and in any spot where a lens working loose would mean pulling the fixture apart again.
Installation and wiringCut and prepare the channel first, mount it, then position the strip. Pass the supply wire through the hole in the cap
before sliding the diffuser lens into its groove, then press the cap in evenly with your thumbs so it seats square rather than cocked to one side. Leave a small service loop of cable outside the channel: it lets you pull the strip out later for maintenance or replacement without pulling on the solder joints. The standard configuration is one cap with a hole at the feed end and a solid cap at the far end; on longer installations where two channels meet a wall, a corner or each other, cap each visible extremity the same way. Keep a few spares in the truck — caps are the part that disappears at the bottom of a toolbox.
Applications and related partsUse these caps on
under-cabinet lighting in kitchens and bars, cove and ceiling details in living rooms and hotel corridors, stair and hallway accents, display cases and jewellery showcases, reception desks, retail shelving and shop fixtures — any project where the ends of the channel are within sight. For other profile families, look at the
finishing end cap #11 with hole and the
finishing end cap #11 no hole. If your project uses flexible neon rope instead of aluminum channel, the matching parts are the
flex neon endcap 6x6 with hole and the
flex neon endcap 3x6 without hole. No spec sheet, IES file or video is currently posted for this accessory; the Documentation tab is where any document would appear.