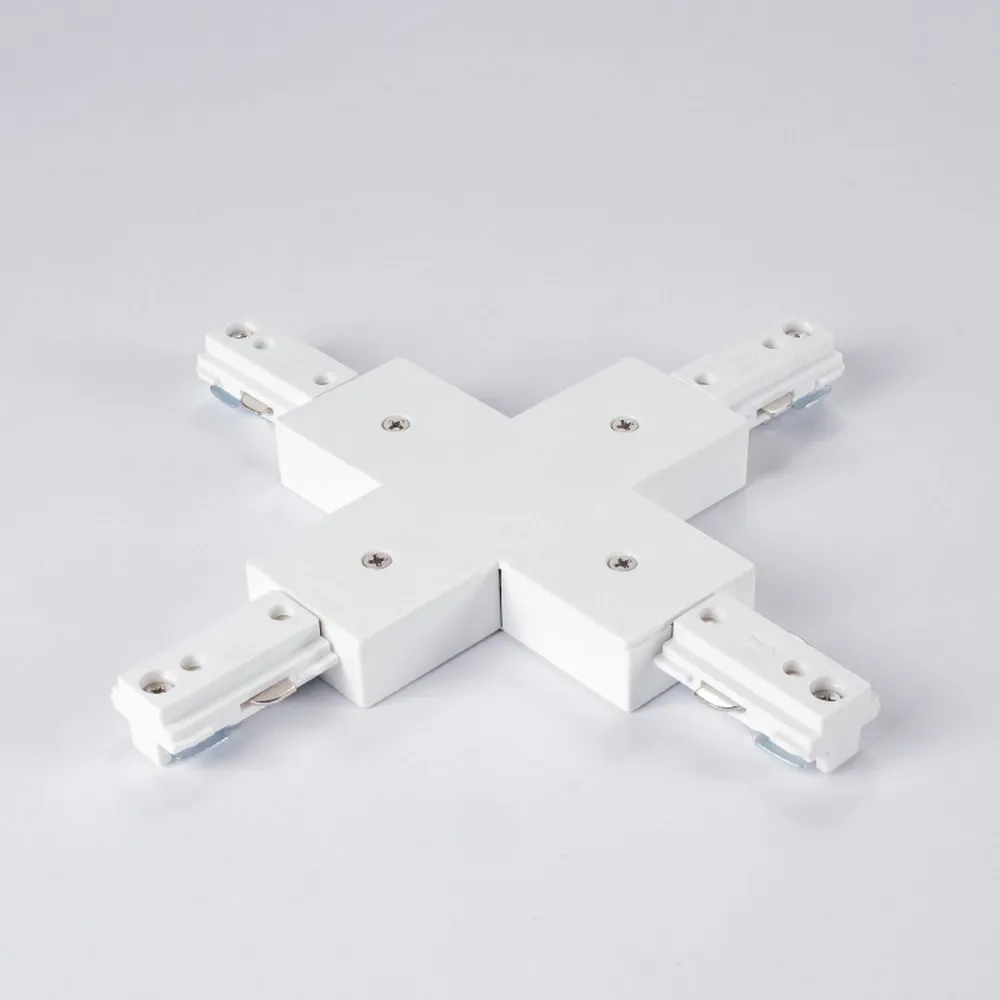
What this connector actually doesThe
AST-TRK-H-XC is the X-shaped, four-way junction of the ASTELLA
track lighting system by TUROLIGHT. Instead of running one long rail and hoping the fixtures land where you need them, you build a grid: two runs crossing at 90 degrees, all fed from a single supply point. It is an
H-type, single circuit component, so it only mates with H-type 1-circuit AST-TRK rail and with the rest of the same connector family (straight, L, T, flexible and end feed pieces). The white finish matches the white rails in the family, which keeps the ceiling line visually quiet even when the layout gets busy.
Technical specificationsSKU: AST-TRK-H-XC-WH
Brand: TUROLIGHT
System: ASTELLA Track System, H-type, single circuit
Track type: 1 circuit (P + N + PE)
Electrical rating: 120V, 60HZ, 20A
Class: Class I
Ingress protection: IP20
Finish: White
Applicable models: AST-TRK
Electrical and installation detailsSafety first: shut the power off at the main panel before installing the track or any accessory. Before sliding the connector in, select the correct grounding tab — the connectors' ground tabs must be prepared before sliding onto the NON-GROUND conductor-side tab of the track section you are joining. If the wrong tab has been removed, do not use the connector, because grounding will not be maintained. Loosen the setscrews on the connector before sliding it into the open end of the rail, keep the
polarity line aligned, then tighten. For wire connections at the feed, strip 3/8" and secure the conductors to the screw terminals; there is no need to wrap the wire around the screw. To reduce the risk of fire, once all rails and connectors are installed, make sure a dead-end fitting is slid into EVERY open end of the track and the setscrews are tightened before power is restored.
Mounting the rail and the headsThe track mounts to ceiling or wall: place the rail over the outlet box, mark the fixing holes, and on drywall or plaster drill 5/8 holes and use the toggle bolts supplied; on wood surfaces use standard #10 wood screws (not supplied). The flat underside of the rail faces the ceiling or wall. To attach a lampholder, align the polarity lines of the track and of the head, push the top of the mounting adapter (with the contact tabs) into the track slot and turn 90°. If the adapter does not turn easily, do not force it — turn the other way. To remove, press the release lever with your index finger and turn 90°. Only fixture assemblies marked for use with TUROLIGHT track should be installed, and local installation requirements must be respected.
Where it fits and what to order with itThink of the X connector as the centre of a cross: a retail floor where two aisles of
track light heads meet, a gallery wall that turns into a ceiling run, a kitchen island crossed by a corridor run, a studio, a café counter, or a basement rec room where the light needs to reach in four directions. Build the layout with white H-type 1-circuit rails:
AST track 4 ft H type 1 circuit 120V white,
AST track 6 ft H type 1 circuit 120V white,
AST track 8 ft H type 1 circuit 120V white or
AST track 12 ft H type 1 circuit 120V white. The full installation instructions for the ASTELLA H-type single circuit system, including the connector diagrams and the lampholder mounting steps, are in the technical PDF (AST-TRK-H-XC-WH Spec Sheet) in the Documentation tab.