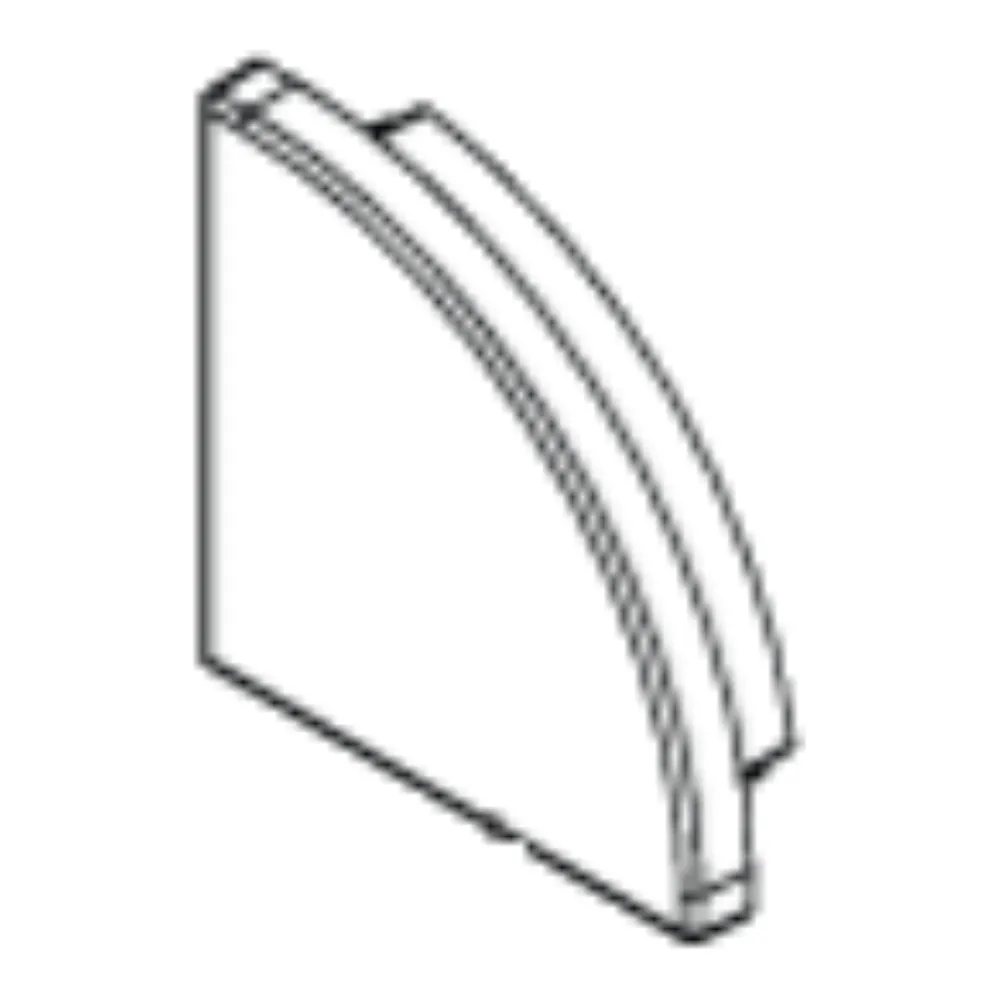
What this end cap isThis is a single
finishing end cap (1X) in the standard #90 profile shape, supplied without a cable hole. Its job is simple but important: it closes the open end of an aluminum
LED channel so the extrusion reads as a finished linear fixture rather than a cut length of profile. Once the cap is in place, the raw aluminum edge, the end of the
LED strip and the tip of the diffuser are all concealed behind one tidy face. On any run mounted at eye level — under upper cabinets, along a stair stringer, on a display fixture — this is the detail people notice first.
Matching the right cap to the right profileEnd caps are profile-specific, which is the single most important thing to get right when ordering. The shape, the width and the internal flange of the cap are cut for one channel family, so the #90 cap belongs on the #90 extrusion. Using the matching cap means the
diffuser seats flush against the inside face, the corners stay square, and there is no gap at the tip where light can spill out sideways. If your project mixes several channel series, order the corresponding cap for each one rather than forcing a cap that is close but not identical — a mismatched cap will sit proud of the profile and telegraph in the finished work.
Hole or no hole: planning the runMost channel runs need two caps: one solid and one drilled. This version is the solid one, intended for the terminating end where nothing exits. At the feed end, where the low-voltage lead from the
LED tape has to pass out to the driver, use the drilled version so the wire is protected and strain is taken by the cap rather than the solder joint. Plan this before you cut your channel: decide which end faces the power source, then place the no-hole cap at the opposite end. On long runs made of several sections joined end to end, you only need caps at the two extremities.
Installation and serviceDry-fit first. Slide the
lens fully into the extrusion until it is seated along the whole length, then press the cap squarely onto the channel end — light, even pressure across the face, not on one corner. For a permanent, vibration-proof hold, a small dab of adhesive on the inside flange is all it takes. For serviceable installations, leave the cap friction-fit so the diffuser and strip can be pulled later for maintenance, dimming changes or a colour-temperature swap. Keeping a spare cap or two on hand saves a trip when a run gets shortened or relocated during a renovation.
Applications and related partsTypical uses include residential millwork and cabinetry, cove and ceiling reveals, stair and hallway lighting, closets and pantries, plus light-commercial work such as retail shelving, reception desks, display cases and signage. For flexible neon projects, the equivalent parts are the
Flex Neon endcap 3x6 with hole and the
Flex Neon endcap side view without hole; for another standard profile family, see the
Finishing end cap #11 (no hole). SKU LCENDCAP-STAND-90, sold individually so you can order exactly the quantity your run requires.