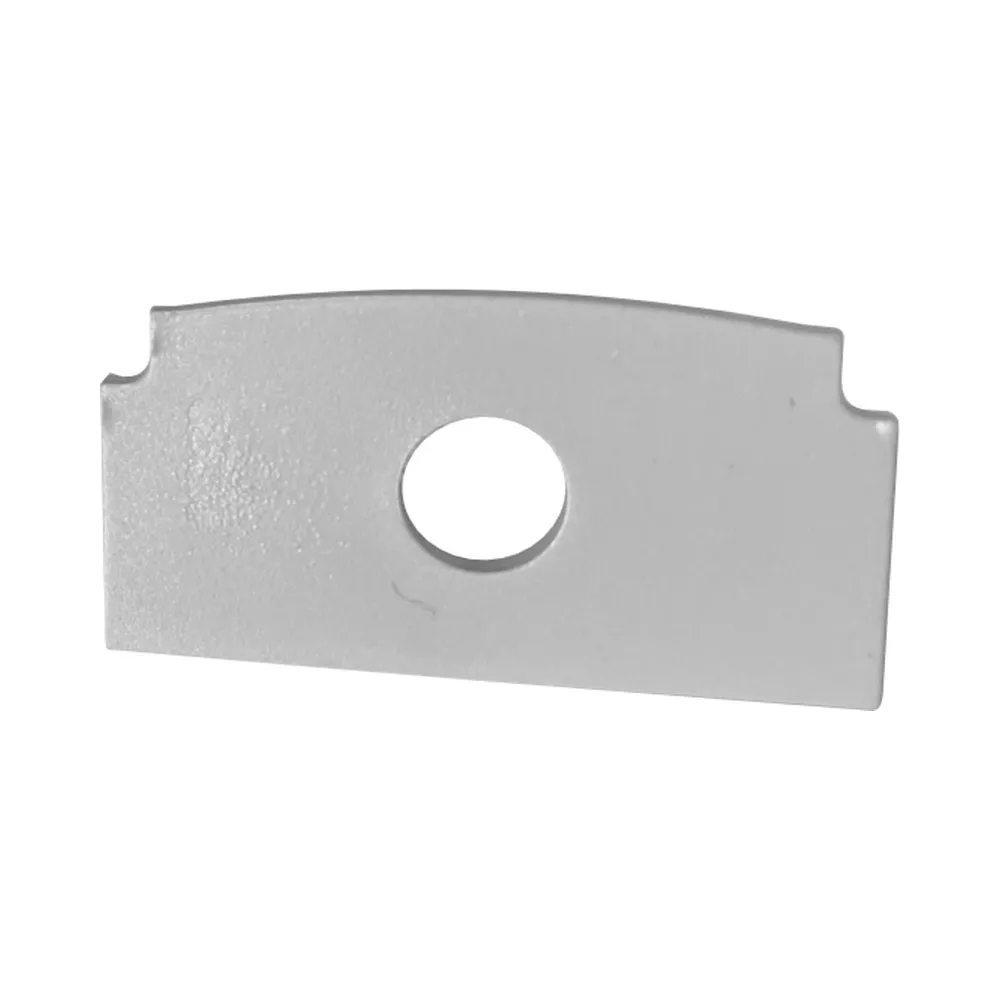
What this end cap actually isThink of an aluminum LED channel as a track with two open ends. Left as they are, those ends show the raw cut, the wiring and the edge of the tape — and they collect dust. The
finishing end cap #89 (standard) closes that opening flush, and this drilled version adds the one thing every run needs: a passage for the wire. It is the classic solution people search for as
LED channel end caps, extrusion end caps or
LED strip end caps, and it is sold one piece at a time so your order matches your drawing instead of a fixed kit.
Profile matching — the one rule that mattersEnd caps are not universal. The #89 designation identifies the profile family this cap was shaped for, and the fit depends on three things lining up: the outside silhouette of the extrusion, the wall thickness, and the groove that holds the
diffuser. A cap from another profile style will either sit loose or refuse to seat at all, so confirm the channel model number before ordering. Across the range there are several profile styles and several finishes, so if you are building with more than one extrusion shape in the same project, order the matching cap for each one. And remember the pairing logic: the
drilled cap at the feed end, the solid cap at the closed end of the same run.
Technical specificationsSKU: LCENDCAP-STAND-89-H
Type: finishing end cap, standard
Version: with hole (wire entry)
Profile: #89
Quantity: 1 unit
Use: aluminum extrusion housing LED tape
Installation, step by stepDry-fit first. Press the cap onto the extrusion before the channel goes on the wall or ceiling, so you know it seats cleanly and you are not fighting it overhead on a ladder. Then work in order: mount or position the channel, slide the
LED tape into the base, feed the supply cable or connector through the hole in the cap, install the
diffuser in its groove, and press the cap home. Leave a little slack in the wire behind the cap — that loop is what protects the solder points and the connector from any tug later on. For overhead coves, vertical columns or anywhere vibration or cleaning could knock a cap loose, a small dab of adhesive on the inside lip is cheap insurance. If you are cutting a channel to length on site, cap the cut end too; a square cut plus a cap is what makes a field-modified profile look factory-made.
Where it earns its keep, and what it works withUnder-cabinet and toe-kick lighting in kitchens, cove and ceiling recesses, stair nosings, display cases and jewellery counters, shelving and bookcases, reception desks, bar fronts, closets and backlit
signage — anywhere an extrusion is visible from the side, the ends need closing. This cap is made for #89 standard aluminum profiles and their diffusers. If your project also uses neon-style flexible strip, the family includes caps sized for it, such as the
Flex Neon endcap 3x6 with hole and its companion
Flex Neon endcap 3x6 without hole, plus the larger
Flex Neon endcap 6x6 with hole. Building with a different standard profile? There is also the
finishing end cap #11 with hole for #11 channels. Order the drilled caps for your feed points and the solid caps for the rest, and every run in the job will look finished.