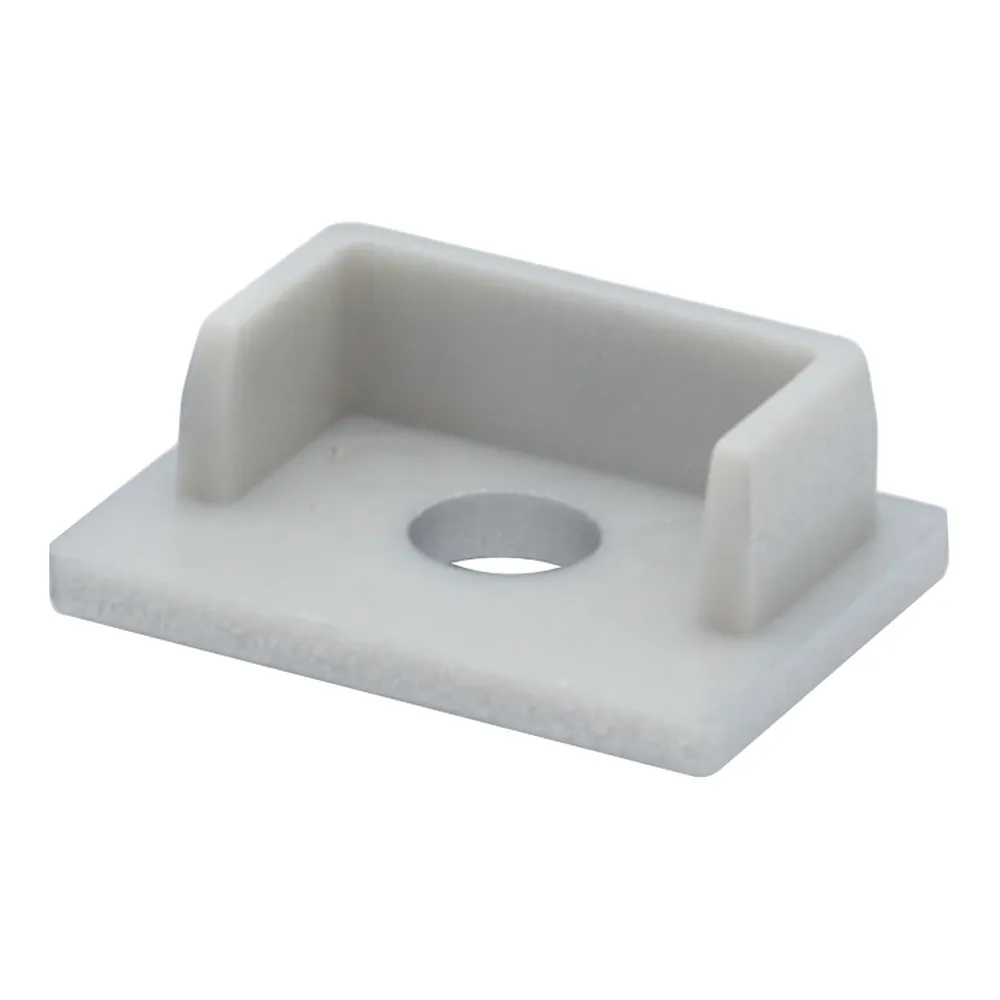
What this end cap is forThis is the finishing piece for the wire end of a #85 aluminum LED channel. Once the LED tape is seated in the extrusion and the diffuser lens is slid or clipped into place, the cap closes the opening and gives the run a clean, machined-looking edge. The difference between this version and a solid cap is the factory-made hole: the supply wire passes through it and exits discreetly, so you don't need to leave the channel open or improvise a notch with a file. The result is a single, tidy assembly — profile, lens, tape and cap — instead of three parts and a visible splice.
Fit and compatibilityEnd caps are profile-specific. The cap's shape and outside dimensions must correspond to the extrusion you're using, otherwise it won't hold. This one is made for the
#85 standard profile family and is sold individually (1X), so you can buy exactly what your project needs. Most runs use two caps: this drilled version on the power side, and a solid, no-hole version on the closed end. Always confirm your profile family before ordering — take a look at the channel's cross-section and compare it to the cap. If your project uses a different extrusion, the same logic applies to the
Finishing end cap #11 (with hole) and its solid twin, the
Finishing end cap #11 (no hole). For flexible
neon LED rope, the dedicated caps are the
Flex neon endcap 6X6 (with hole) and the
Flex neon endcap 3X6 (with hole).
Technical specificationsSKU: LCENDCAP-STAND-85-H
Type: finishing end cap, standard
Profile: #85
Wire opening: yes, pre-made hole
Quantity: 1 unit (1X)
Use: aluminum LED profile with strip and diffuser installed
Installation, step by stepWork in the right order and the job takes minutes. Cut the aluminum channel to the exact length of your run. Clean the inside of the extrusion, peel and press your LED tape along the base, then route the supply wire toward the end that will receive this cap. Insert or clip the diffuser lens. Finally, thread the wire through the hole and press the cap onto the extremity until it seats flush. On ceilings, coves and other overhead runs where a dropped cap is a nuisance, put a small dab of adhesive inside the cap for a permanent, rattle-free fit. Where you might want access later — a display case, a removable shelf, a temporary retail setup — leave it as a friction fit so it pulls off by hand. Mount the channel only after both caps are in place, and keep the wire exit near your driver or connection point to limit visible cable.
Where it earns its placeThink of every linear detail you want to look deliberate: under-cabinet and toe-kick lighting in a kitchen, cove lighting in a living room or basement ceiling, closet and pantry shelving, stair nosings, bathroom mirror surrounds, garage and workshop benches. On the commercial side, it finishes
retail display shelving, reception desks, bar fronts, cooler cases and office millwork — the places where a customer's eye lands at close range. Closing the extremity also keeps dust off the strip end, which supports the thermal management of the extrusion and consistent light output over the life of the installation. No documents are listed for this accessory: the important information is the match between the cap and your profile, so verify the profile family first and order your caps in pairs.