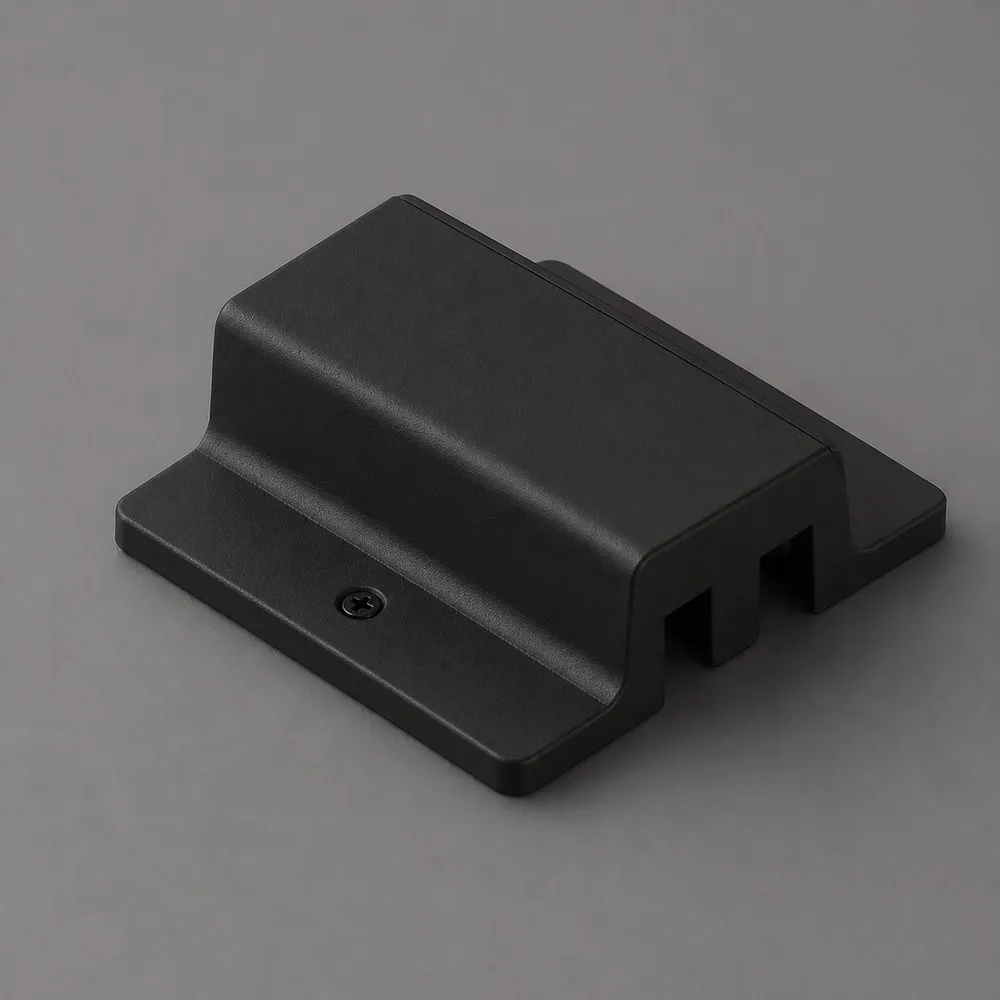
What a floating canopy actually doesOn a track lighting system, power has to enter the rail somewhere. A standard live end feed brings it in at the tip of the track; a
floating canopy lets you feed the circuit from a junction box located anywhere along the length of the run and covers that outlet box with a clean plate. That freedom matters in renovations, where the existing ceiling box is rarely where the designer wants the track to begin. The black finish of AST-TRK-H-FCNP-BK keeps the feed point visually quiet, blending with black rails, black
track light heads and dark or exposed ceilings.
Technical specificationsBrand: TUROLIGHT
System: ASTELLA Track System
Track type: H-type, single circuit
Circuit: 1 way (P + N + PE)
Electrical rating: 120V, 60HZ, 20A
Class / ingress: Class I, IP20
Finish: Black
Applicable models: AST-TRK
Electrical and installation detailsAlways switch off the main power at the panel before installing track or accessories, and respect local installation requirements. Place the track over the outlet box and mark the fixing holes on the ceiling or wall; on drywall or plaster, drill 5/8 holes and use the supplied toggle bolts, and on wood surfaces use standard #10 wood screws (not supplied). Cut and strip the box conductors — 3/8" of strip is enough — and secure them under the screw terminals of the connector; there is no need to wrap the wire around the screw. The flat underside of the rail faces the ceiling or wall, and the open elongated side of the track face receives the lampholders. Loosen the set screws on any connector before sliding it into the open end of the rail, and make sure the correct grounding tab is prepared so circuit polarity is maintained; if the wrong tab has been removed, that connector must not be used because grounding will not be maintained. To reduce the risk of fire, once all rails and connectors are correctly installed, slide dead-end connectors into every open end and tighten the set screws before turning the power back on.
Compatibility and headsThis canopy belongs to the AST-TRK H-type single-circuit family and works with the system's connectors and accessories — live end connectors, end connectors, straight, L, T and X couplers, and mini joiners referenced in the installation instructions as AST-TRK-H-LEC, AST-TRK-H-EC, AST-TRK-H-XC, AST-TRK-H-LC, AST-TRK-H-MJ, AST-TRK-H-TC, AST-TRK-H-SC and AST-TRK-H-FC. To reduce the risk of fire and electric shock, use only fixture assemblies marked for use with TUROLIGHT track. To install a lampholder, align the polarity lines of the track and of the head, push the top of the mounting adapter with its contact tabs into the track slot and turn 90°; if the adapter does not turn easily, do not force it — turn the other way. To remove a head, press the release lever and turn 90°.
Where it works and documentationThink boutique window displays and shelving walls, art galleries and museum-style accent lighting, restaurant and café dining rooms, salons, offices, showrooms, open-concept condos, kitchens and home art walls — anywhere a flexible
LED track lighting layout beats fixed recessed pots. Pair the canopy with the length that suits the space:
AST Track 4 ft H type black for a kitchen island,
AST Track 6 ft H type black for a retail wall, or the longer
AST Track 12 ft H type white for a bright gallery ceiling. The technical PDF (AST-TRK-H-FCNP-BK Spec Sheet), which includes the bilingual installation instructions, is available in the Documentation tab for your electrician or contractor.