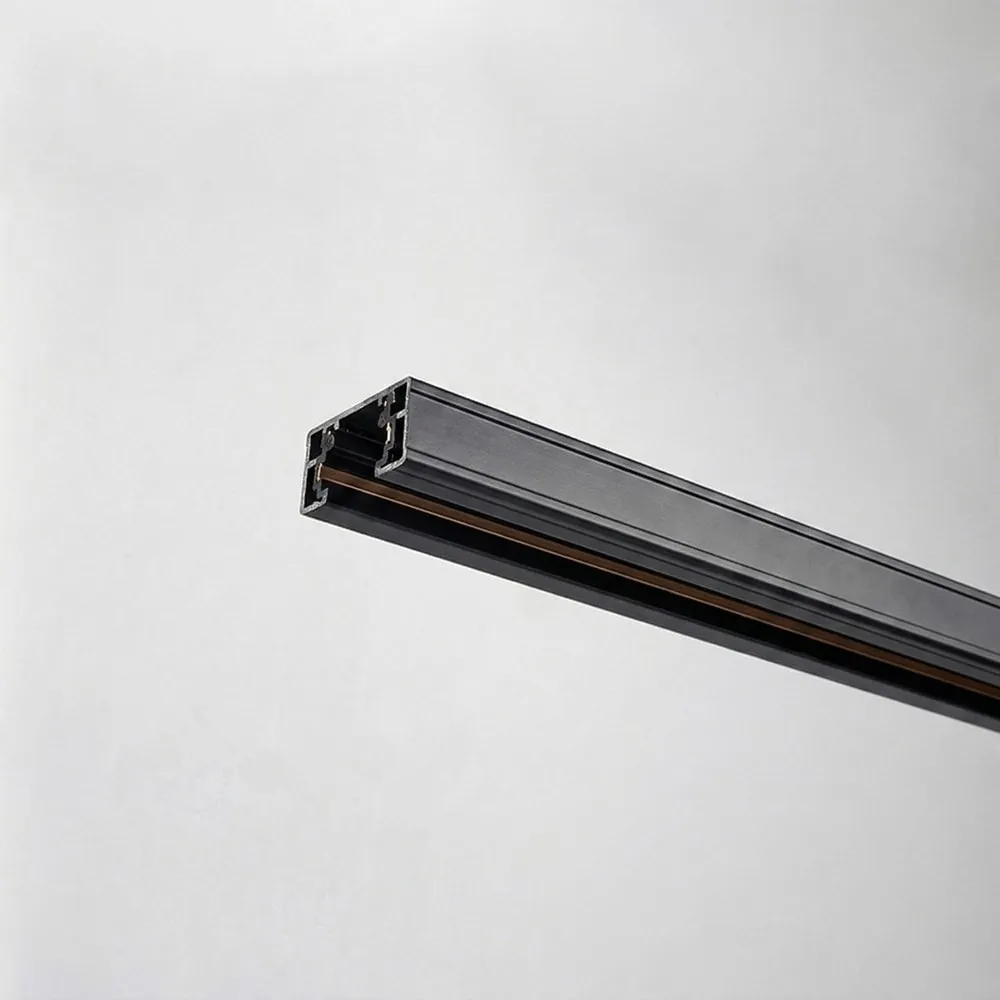
A track system built around one simple idea: flexibilityThe ASTELLA track system from TUROLIGHT uses the classic
H-type single-circuit profile, the most common track standard in North American retail and residential projects. The 4-foot black section is the building block: you screw it to the ceiling or wall, feed it once at 120V, and from that moment every lighting decision becomes a two-second job instead of an electrical one. Slide a head on, twist it 90°, aim it. Move it next month. Add two more before the holidays. The underside of the rail carries a continuous slot with copper conductors and a printed
polarity line, and the smooth back of the rail faces the mounting surface, giving a clean, low-profile look that suits both a modern condo and a busy storefront.
Technical specificationsSKU: AST-TRK-H-04-BK
Brand: TUROLIGHT
System: ASTELLA Track System
Type: H-type, single circuit
Length: 4 ft
Voltage: 120V, 60Hz
Current rating: 20A
Circuit: 1 circuit (P + N + PE)
Protection: Class I, IP20
Finish: Black
Wiring and installation, step by stepAlways shut off power at the main panel (fuse or breaker box) before installing track or accessories. Hold the rail against the ceiling or wall over the outlet box and mark the mounting holes. On drywall or plaster, drill 5/8 holes and secure the rail with the supplied toggle bolts; on wood surfaces, use standard #10 wood screws (not supplied). Strip the box wires 3/8" and land them on the screw terminals inside the live end connector — no need to wrap the wire around the screw. Then install the lampholders and feed connectors, and finally turn the main power back on. Local installation requirements must be respected, and to reduce the risk of fire and electric shock, use only fixture assemblies marked for use with
TUROLIGHT track.
Joining sections and closing the runWhen you join two lengths, the grounding tabs on the connectors must be prepared before sliding them onto the non-ground conductor side tab of the section you're joining — and if the wrong tab has been removed, do not use that connector, because grounding will not be maintained. Loosen the set screws on any connector type before sliding it into the open end of the rail, then retighten. To reduce the risk of fire, once all rails and connectors are properly installed, make sure a
dead-end cap has been slid into every open end of the track and that the set screws are tightened before energizing. The ASTELLA family includes live end, end, straight, L, T, X and mounting-adapter accessories (AST-TRK-H-LEC, AST-TRK-H-EC, AST-TRK-H-XC, AST-TRK-H-LC, AST-TRK-H-TC, AST-TRK-H-SC, AST-TRK-H-FC, AST-TRK-H-MJ) so a single-circuit layout can turn corners, cross, or run wall to wall.
Where it earns its keep, and what to read before you buyThink of a kitchen island where you want three tight beams on the counter and one washing the backsplash; a gallery wall in a hallway; a boutique where the
track lighting heads follow the racks; a café counter lit by
linear pendants hung from the same rail; an office reception, a hair salon, a small showroom or a basement workshop. Black hides beautifully on dark or exposed ceilings and reads as deliberate design on white ones. Build longer or shorter runs with the matching
AST Track 2 ft H type black,
AST Track 6 ft H type black and
AST Track 12 ft H type white sections. The full installation instruction sheet for the AST-TRK series is available in the Documentation tab — worth a read before you drill your first hole.