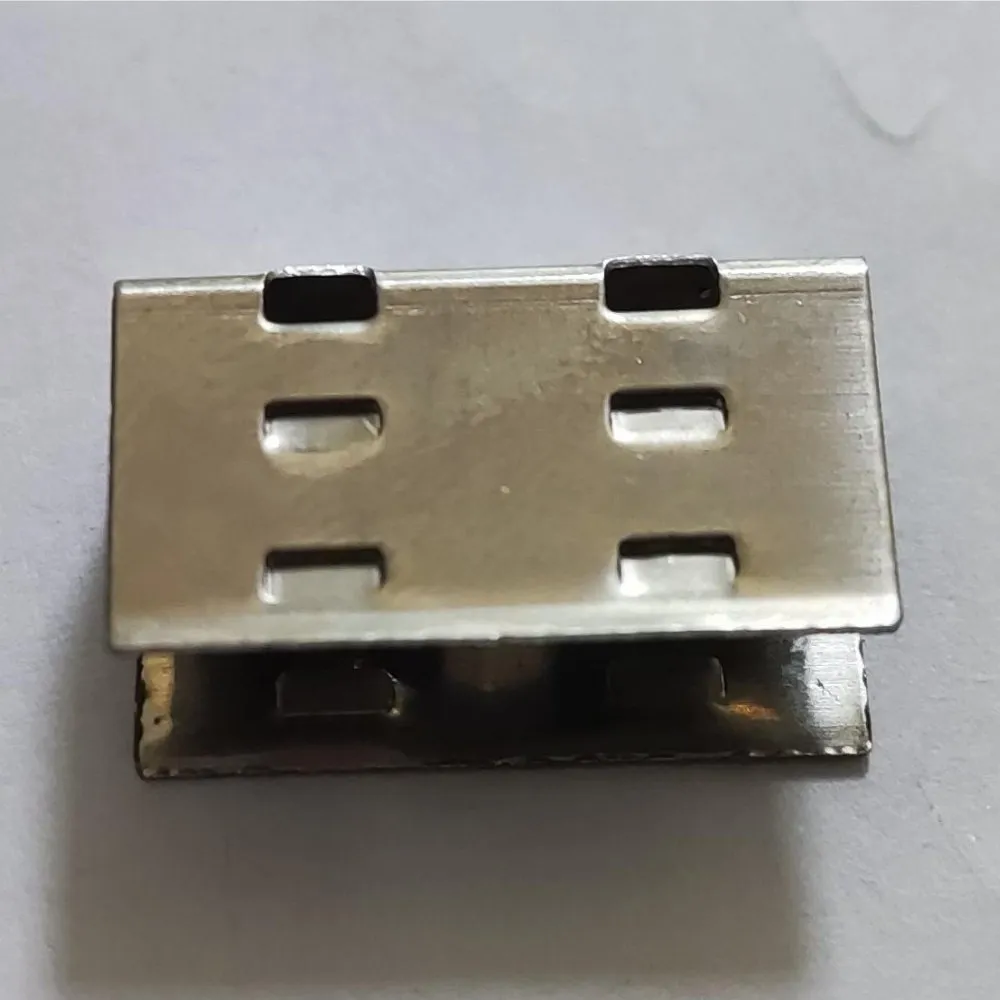
Built for one job, done wellThis mounting bracket exists for a single purpose: holding
LED neon flex in place, permanently and discreetly. Its channel is shaped to match a 3x6 neon flex profile, cradling the rope so the light-emitting face stays pointed where you want it. The rope snaps in with firm pressure and stays put, yet the design allows you to pop it back out and reposition if your layout changes. That combination — secure hold, reversible install — is what makes a clip like this worth the few extra minutes it takes to space them properly.
Why spacing mattersThe most common complaint about a neon flex installation is not the light itself, it is the line: a rope that dips between fasteners, twists slightly so the glow rolls to one side, or kinks in a corner. Regular bracket spacing solves all three. On straight runs, place your clips at consistent intervals so gravity never gets a chance to pull the rope down. Through tight bends — the curve of a script letter, the radius of a cove return, the corner of a display case — bring the clips closer together so the rope holds its curve without pinching. Keep every bracket rotated the same way and the emitting face lines up perfectly, which is what gives a finished job that seamless, continuous tube-of-light look.
Installation, step by stepDry-fit first. Lay out the full run of
flexible LED neon rope light on the surface, tape it loosely in position, then mark each bracket location with a pencil. Work from the power-feed end so your connection point lands where you planned it. Fasten the brackets to the substrate using hardware appropriate to that surface — anchors in drywall, screws into wood blocking, suitable fixings in masonry or metal. Then snap the rope in, starting at one end and working along so no slack accumulates. Double-check that the end cap and feed are properly sealed before you power up, and never force the neon flex into a radius tighter than the rope allows.
Where it earns its keepIndoor accent lighting is the sweet spot: ceiling coves and trays, under-cabinet and toe-kick lines, bar fronts and back-bar shelving, stair nosings, headboards, closet niches and bathroom mirror surrounds. On the commercial side, think retail display cases, storefront window signage, custom LED sign letters, gym and salon feature walls, restaurant booth outlines and office reception desks. For an exterior facade, a covered patio or any damp location, the deciding factor is the rating of the neon flex itself and of the fasteners you choose — the bracket is simply the mechanical support. SKU
LCBRACK-FLEX-3X6 is sold per unit, so estimate your run, add a few spares for corners and you are set.
Compatibility and related hardwareUse this bracket only with neon flex whose profile matches the 3x6 shape of the channel; a rope that is too large will not seat and one that is too small will rattle loose. If your project also involves other fixture families, we carry dedicated supports such as the
Standard installation bracket - Series #10, the
Installation bracket - Series #4064 and the
Installation bracket - Series #9400. Note that this item ships without printed documentation; any files posted for it would appear in the Documentation tab of this page. If you are unsure whether your rope matches this profile, measure the cross-section of your neon flex before ordering.