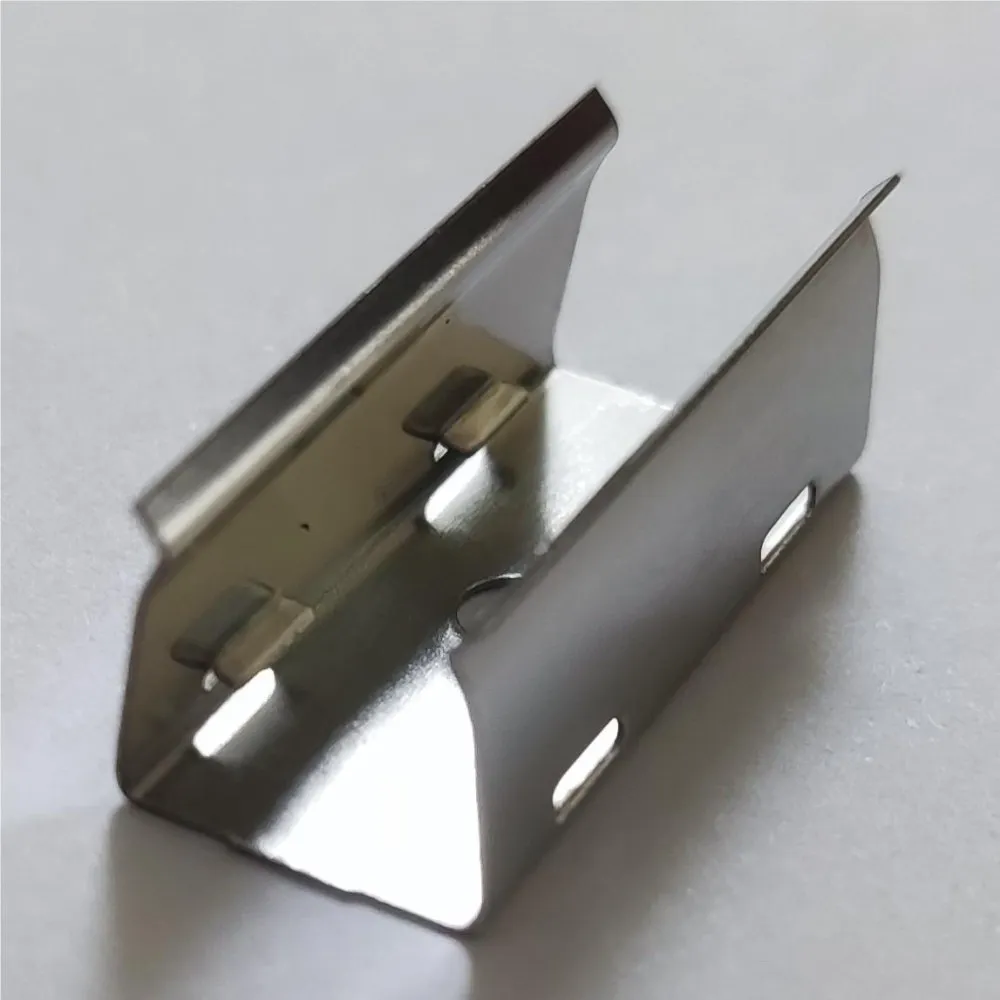
What this bracket actually doesA run of
LED neon flex is only as good as the hardware holding it. This
mounting bracket is a simple fixing accessory designed to hold neon flex firmly against a surface, cradling the silicone body so the rope follows exactly the path you trace. That path can be a long straight cove, a soft arc, or the tight radius curves of custom signage and lettering. It is sold as a single unit, which means your order matches your drawing: count your run, count your corners, add a few spares, done.
Construction and holding powerIt is made to match standard neon flex profiles, so the silicone sits in the cradle rather than being pinched or twisted. That's what delivers
consistent spacing and tension along the run and keeps the illuminated line reading as one continuous stroke of light. Just as important, it is a mechanical fixing and not an adhesive: tapes and glues soften, creep and let go over time, especially near heat or humidity, while a fastened bracket keeps holding on drywall, wood, metal and finished surfaces. It also stays serviceable — you can unclip a section to swap a length of flex or chase a connection without tearing out the whole installation.
Technical specificationsSKU: LCBRACK-FLEX-6X6
Type: Mounting bracket for LED neon flex
Format: 6x6
Sold as: Single unit
Fixing method: Mechanical (not adhesive)
Compatible surfaces: Drywall, wood, metal and finished surfaces
Compatibility: Standard neon flex profiles — verify your flex profile dimensions before ordering
Installation, step by stepDry-fit the full run first and mark your
bracket positions before fastening anything — five minutes of layout saves an hour of patching. Space the brackets evenly on straight sections so the flex can't sag between supports, then add extras through curves and corners, which is exactly where the rope naturally wants to lift off the surface. Use fasteners suited to the substrate: drywall anchors in gypsum, screws into studs or wood blocking, self-tapping fasteners in metal. On outdoor or damp installations, choose suitable fasteners for the substrate and seal any penetrations you make. Always cut and power the neon according to the manufacturer's guidance for your specific flex, and keep your cut points and feed locations planned before the first bracket goes in.
Where it earns its keep, and what else to look atThink cove ceilings and tray ceilings in a basement renovation, stair nosings, under-counter accents in a kitchen, a bar or restaurant backbar, gym and studio perimeter lighting, retail window graphics, and shop or garage workbenches. For commercial work, it's the piece that makes a
LED flex sign look professionally fabricated instead of improvised. This product page doesn't include a spec sheet, so confirm your neon flex profile dimensions against the bracket before you order a large quantity. If your project also involves fixtures that need their own hardware, our family of installation brackets includes the
installation bracket - series #4064, the
standard installation bracket - series #84 #85 #86 and the
swivel installation bracket - series #85.