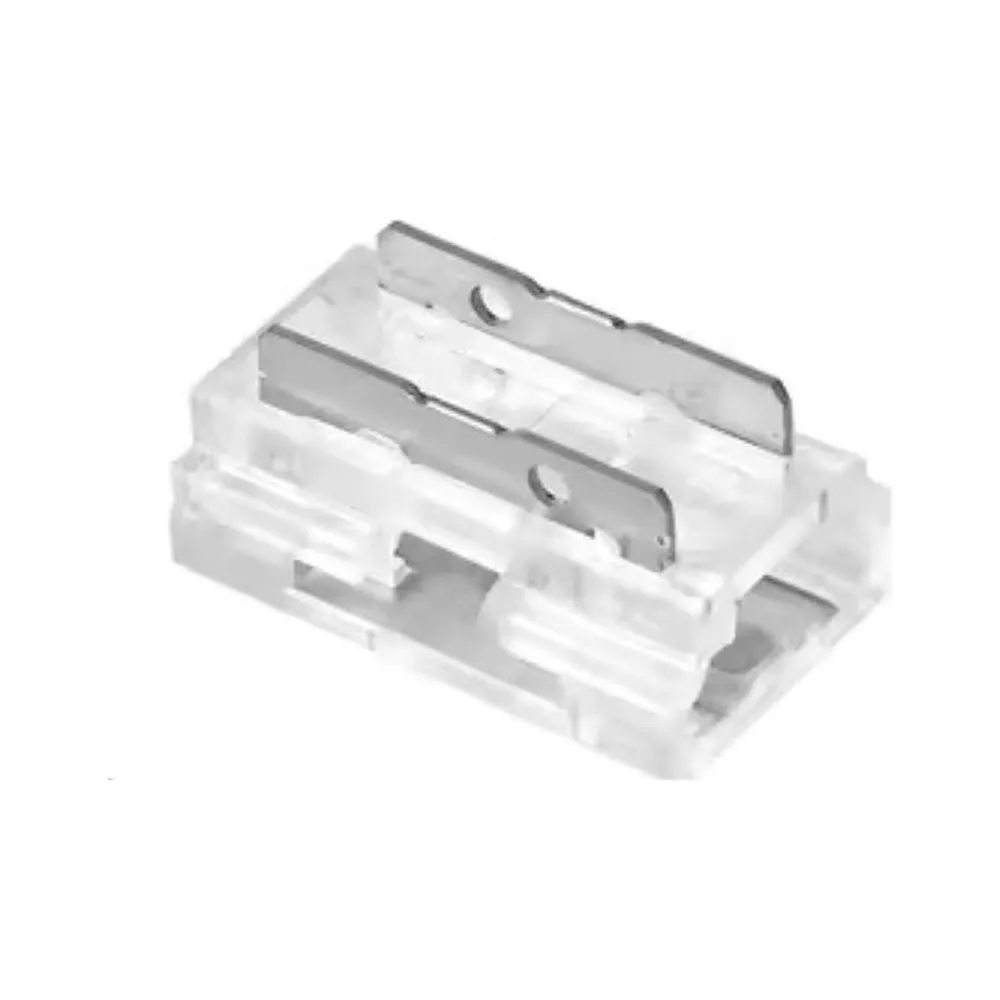
Built to replace the soldering ironA straight LED strip connector does one job and does it cleanly: it joins two lengths of tape end to end, in line, with mechanical contact instead of solder. Inside the housing,
spring-loaded contacts clamp down on the copper pads of the strip, holding them tight against the pins for a stable, low-resistance path. No heat, no flux, no risk of lifting a pad with an overheated tip — and no waiting for joints to cool before you tuck the tape into a channel. For anyone who installs
led strip lighting on job sites, that means faster work, cleaner results and a splice that can be opened and redone if the plan changes.
Technical specificationsSKU: LCCON-CLIPCOB-STR-8MM
Type: straight solderless connector (strip to strip)
Contacts: 2-pin
Strip width: 8 mm
Compatible tape: single-colour COB and SMD LED strip
Connection: spring-loaded clip on copper pads
Housing: slim, low profile for aluminum channels
Compatibility and what to check before orderingThe two pins tell you everything about the electrical side: this is a
single-colour connector, positive and negative only, so it suits white, warm white or single-colour
COB LED strip and SMD tape. It is not made for RGB, RGBW or tunable-white tape, which need four or more conductors. The critical check is physical: your tape must be
8 mm wide and its copper pads must line up with the contact points inside the clip. Lay the connector over the end of your strip before you commit — the pads should sit directly under the pins, with nothing overhanging. Pad spacing varies between tape families, so a quick dry fit avoids a flickering or dead section later.
Installation, step by stepCut the tape exactly on the printed cut line so both copper pads are fully exposed and square; a diagonal cut is the number one cause of a bad splice. Wipe the pads clean of dust, silicone or adhesive residue. Open the clip, slide the strip in until the pads sit squarely under the pins, then close the clip firmly until it latches. Confirm that + lines up with + and − with − on both sections before you apply power. If the tape has a silicone coating, trim the coating back so bare copper meets the pins. Test the joint before you press the adhesive backing down or close up the channel — five seconds of testing beats pulling a finished run apart. For a feed at the start of the run, terminate to your driver with a
green male DC connector or a
green female connector for power supply.
Where it earns its keepKitchen and vanity
under-cabinet lighting where each cabinet gets its own short section; cove and crown runs in living rooms and basements; display shelving and jewellery cases in retail; backlit signage and reception desks; toe-kick and stair accent lighting; workbench and garage task lighting. In renovation work it is a lifesaver: an existing run that has to be shortened around a new outlet or lengthened after a cabinet swap can be reworked in seconds. Keep a handful in the van alongside
L-shape COB connectors for corners and
L-shape connectors with wire cable for jumping between surfaces, and almost any tape layout can be solved on site. No spec sheet or IES file is published for this accessory — the product photos and the dimensions above tell you what you need; when in doubt, measure your tape width and count your pads.