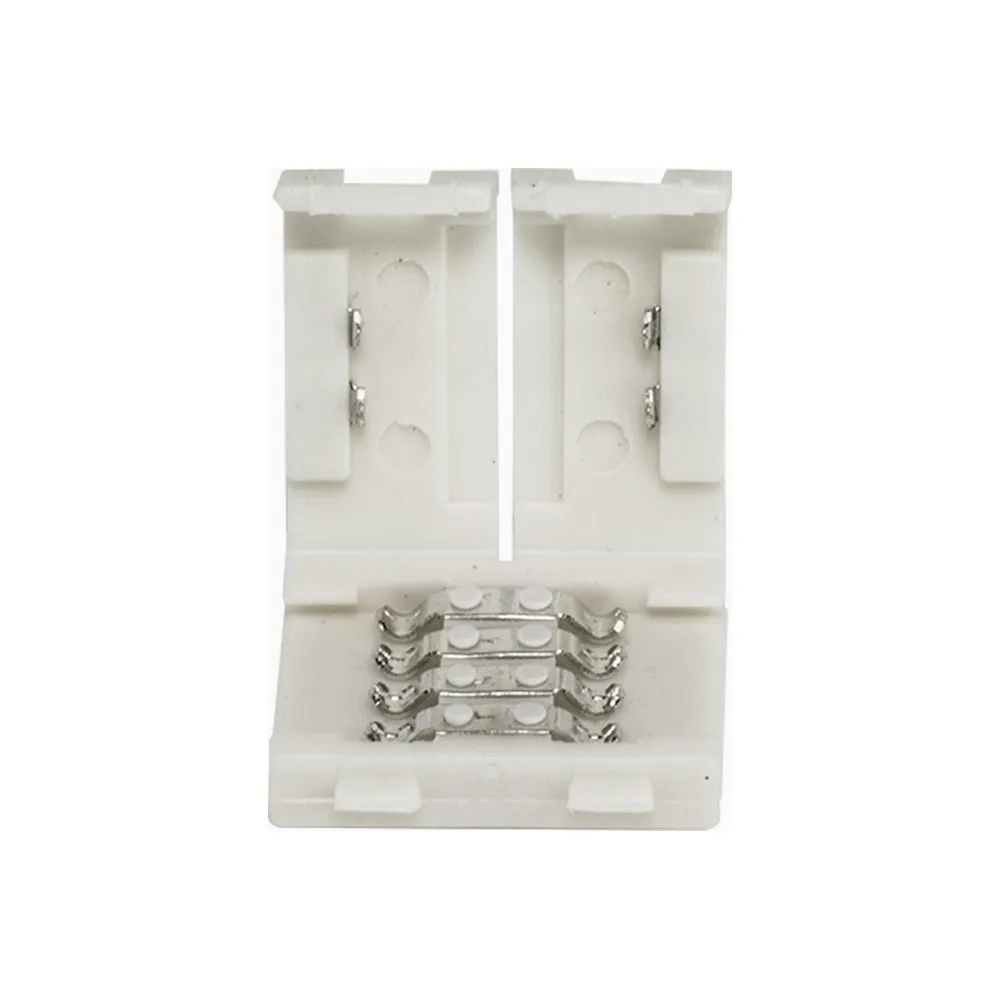
What these connectors are
The CONRGB is a solderless connector for RGB LED strip, designed to reconnect two sections of RGB 5050 LED strip after the strip has been cut on one of its marked cut lines. Instead of tinning pads and soldering four conductors by hand, you simply open the clip, insert the end of each strip so the copper contact pads sit under the metal contacts, and close it. The connector holds both strips mechanically and electrically, aligning the common line and the red, green and blue channels so the run continues to respond to the same controller and the same remote as before.
Why solderless matters
Soldering an LED strip takes skill, heat and time, and one slip lifts a copper pad off the flexible circuit — which usually means throwing away the whole section. A solderless clip removes all of that. There is no heat near the LEDs, no flux residue, no smell, and nothing to cure before you can power up and test. It also means you can work in place: on a ladder, inside a cabinet, behind a valance, in a finished room where a soldering station simply is not practical. For renovation work where you measure, trim and re-measure as you go, being able to rejoin a 5050 RGB tape light in seconds changes how you plan a run.
Important compatibility note
These connectors join strip to strip only. It is not possible to connect them directly to RGB wires, so they are not the right part for running from a controller, a power supply or a driver to the first section of tape, and not the right part for bridging a long gap with cable. Check the width and the pad layout of your RGB 5050 strip before ordering, and make sure your cut is clean and centred on the cut line so the full copper pad remains available inside the clip. Trim off any silicone coating on a covered strip so the pads are exposed and dry before you close the connector.
Where they get used
Kitchen under-cabinet and toe-kick lighting, cove and tray ceilings in living rooms, bedroom headboards, home theatres, garages and basement stairs, plus commercial work: retail shelving and display cases, bar fronts, reception desks, restaurant millwork, salon mirrors and signage. Anywhere a colour-changing LED strip has to follow a corner, skip an obstacle, or be shortened to fit a cabinet, a connector brings the run back together. Contractors often keep a handful on the truck simply as insurance: a damaged section can be cut out and the two good ends rejoined without re-running the whole installation.
Installation tips and documentation
Always cut on the printed cut line, never between it, and always disconnect power before opening a connector. Insert each strip the same way up — RGB strips are polarity and channel sensitive, and a reversed strip will show the wrong colour or nothing at all. Support the strip on both sides of the clip with the adhesive backing or a mounting channel so the joint is not carrying any pulling force, and test the run before closing up millwork or drywall. For a step-by-step walkthrough, see our guide on how to cut and reconnect LED strips using solderless connectors.