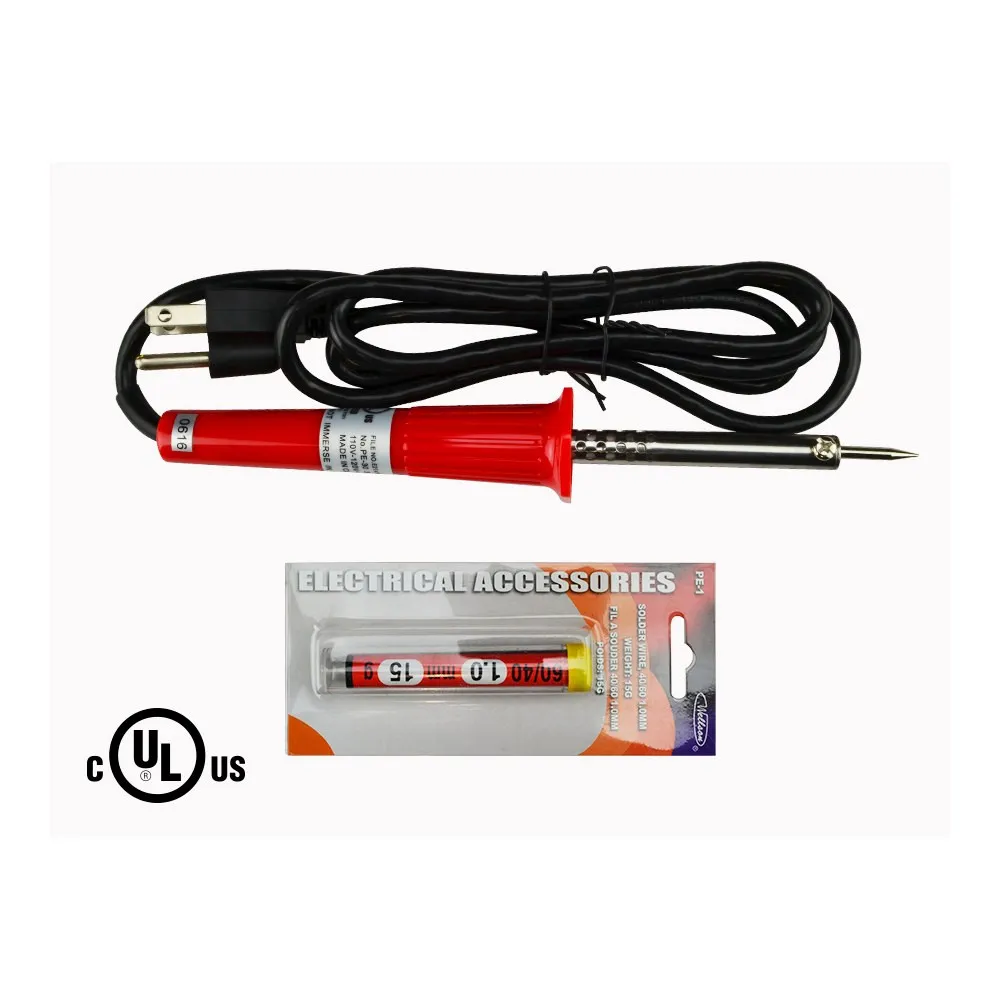
What comes in the kit
The Soldering Iron Kit (SKU SOLD) by LED MONTREAL is deliberately simple: a cUL Listed 30W electrical soldering iron, its stand, and 15 g of 1.0 mm soldering wire. That is everything required to join wire to the copper pads of a LED strip light and nothing you will never use. The 30W rating is the sweet spot for this kind of work — enough heat to melt the wire quickly on the pad, gentle enough that a careful hand will not cook the flexible circuit board underneath. The stand matters more than people expect: it holds the hot tip off your workbench, off the tape and away from the wiring while you line up the next joint.
Technical specifications
SKU: SOLD
Brand: LED MONTREAL
Iron: electrical soldering iron, 30W
Certification: cUL Listed
Included: soldering iron, stand, soldering wire
Soldering wire: 15 g, 1.0 mm diameter
Applications: residential and commercial projects
How to solder a LED strip
The method is straightforward. Prepare your LED strip by exposing and cleaning the copper connectors. Skin your connection wire by about 3 mm and twist the exposed wire. Install your soldering iron on the provided stand and let it heat up for about 3 minutes, then apply the tip. Always respect polarity on single-colour tape and match each channel on RGB tape before you power anything up. Work with the strip disconnected from its driver, keep the joint short and tidy, and protect the finished connection before tucking the tape into an aluminum channel. Please read and comply with all instructions and warnings listed on the back of the package before using your soldering kit.
Why solder instead of clip
Solderless connectors are fast, but they rely on pressure against a copper pad — and pressure fades with heat cycles, dust and vibration. A soldered joint is a permanent electrical bond, which is exactly what you want at the far end of a long run where voltage drop and a loose contact would show up as dim or flickering sections. Soldering also lets you build a custom-length extension to reach a power supply on the other side of a beam, jump a corner exactly where you need it, or splice two reels into one continuous line. For intermediate and expert handy people, it is the cheapest upgrade in reliability you can make to a LED strip lighting installation.
Where it gets used
Think under-cabinet lighting in a kitchen where the tape has to turn around a sink window, a ceiling cove in a finished basement, display shelving in a boutique, a toe-kick detail in a bathroom vanity, signage and bar fronts in a restaurant, or task lighting in a workshop. On commercial sites, soldered feeds and returns keep long architectural runs looking uniform from end to end. Residential or commercial, indoors, this kit belongs in the same tool bag as your strip, your channel and your driver — and any installer who has chased one bad clip across a finished ceiling knows why.