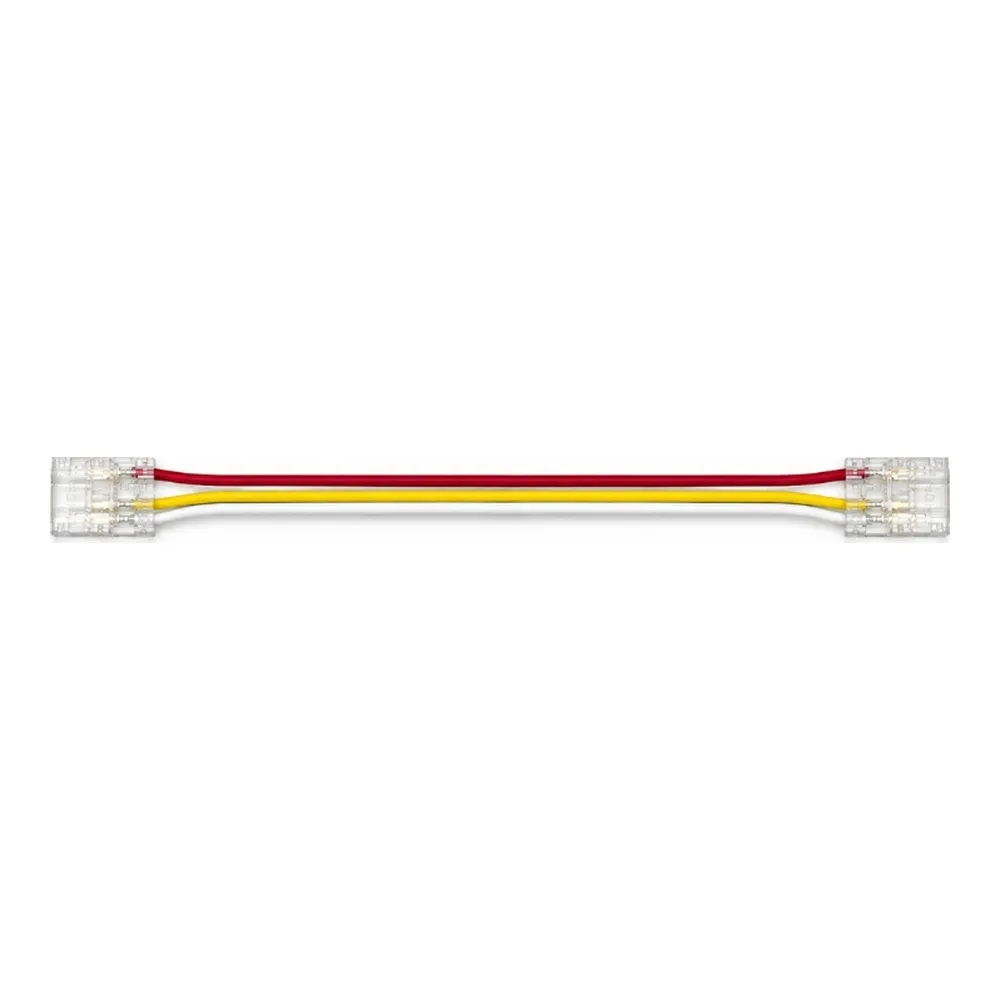
What this connector does
COB LED strip gives a continuous, dot-free line of light, and the CANOLIGHT CL-AST-TW-C10BBW-LV COB strip light connector helps you keep that seamless look even when your layout is not a single straight run. With a clip-on head at each end of a 10 cm lead, this double-head connector links two separate pieces of strip so power carries through from the first section to the second, across a corner, a gap or an obstacle.
Designed for 3-pin COB strips
This is a 3-pin connector, meant for COB LED strips that have three conductors. Matching the pin count is essential: the connector's contacts must line up with the copper pads on the strip so every channel is carried through correctly. Before installing, confirm the number of pads on your strip and check its width against the details in the spec sheet available in the Documentation tab. A connector that matches your strip will seat firmly and give a dependable electrical contact.
Installation, step by step
Switch off the power supply. Cut the strip only at the marked cut points, then open the connector head, slide the strip end in with the pads facing the contacts and align each conductor carefully. Close the head until it locks, repeat on the second strip section, then route the 10 cm wire neatly around the corner or across the gap. Respect polarity and the order of the conductors from one section to the next, test the run before fixing the strip permanently and make sure the whole installation, including the driver, is wired according to local electrical code.
Where it saves the day
This LED strip connector is perfect for kitchen under-cabinet lighting that must jump from one cabinet to the next, L-shaped and U-shaped counters, shelving with vertical dividers, closets, display cases, toe-kick lighting, stair nosings, cove lighting that turns a corner and retail fixtures with several compartments. Contractors appreciate how quickly it goes in on site, and homeowners appreciate that sections can be separated later without cutting or re-soldering.
Good practice
Plan your layout before cutting: count every corner, gap and break in the run and order one connector for each. Keep the wire tidy and protected from pinching behind panels or hardware, avoid pulling on the connection once it is made and leave access to the joints where possible for future maintenance. Consult the spec sheet in the Documentation tab for the connector's full details.