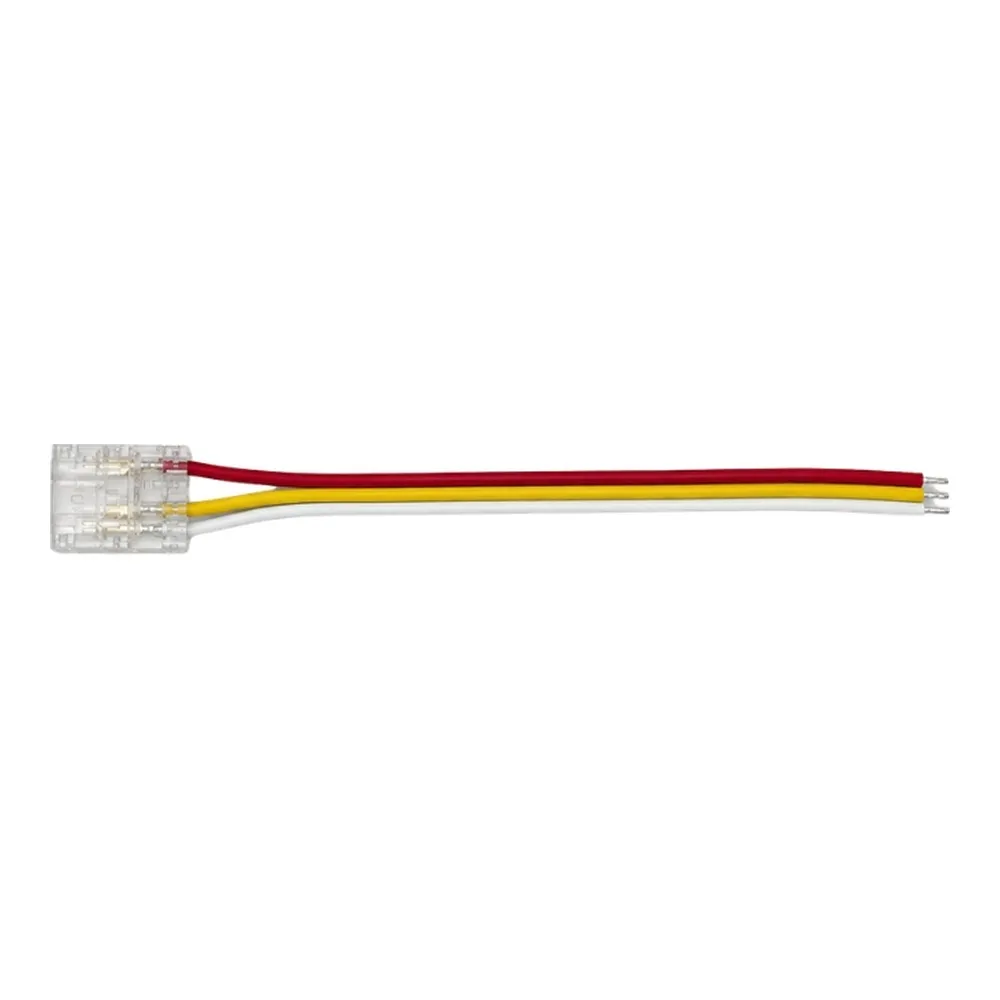
The starting point of every run
Every LED strip run needs a clean way to receive power. The CANOLIGHT CL-AST-TW-C10XBW-LV COB strip light connector provides it: a single clip-on head attaches to the end of the strip, and its 10 cm lead brings the conductors out so they can be joined to the supply wiring. Instead of soldering wires directly to the pads, you get a repeatable, tool-light connection that is faster to make and easier to redo if the layout changes.
Built for 3-pin COB strip
This is a 3-pin connector for COB LED strips with three conductors. The contacts inside the head must line up with the copper pads of the strip, so matching the pin count is the first thing to check. The strip width also matters for a snug fit: consult the spec sheet in the Documentation tab and compare it with your strip before you install. When the connector and the strip match, the head closes firmly and the connection stays secure.
How to install it
Turn the power off at the driver. Cut the strip only at a marked cut line, open the connector head, insert the strip with the pads facing the contacts and align every conductor. Close the head until it clicks shut, then route the 10 cm lead toward the power connection point. Identify each conductor carefully and keep the same order all the way to the supply, respecting polarity. Test the strip before sticking it down permanently, and have the driver and the line-voltage side installed according to local electrical code.
Typical uses
This LED strip connector is ideal wherever the power arrives at one end of the run: under-cabinet kitchen lighting fed from a driver hidden in an upper cabinet, closet rods and shelving, bookcases, display cases, bar back-lighting, cove lighting fed from the attic or a soffit, stair lighting and retail gondolas. Electricians use it to speed up commissioning on multi-run jobs, and renovators appreciate how easily the strip can be unplugged later without cutting or re-soldering.
Tips for a clean result
Plan where each run will receive power before you cut, and order one connector per feed point. Keep the lead protected from sharp edges and pinch points, support the joint so it is not pulling on the strip and leave access to it if possible. For the connector's full details, refer to the spec sheet in the Documentation tab.