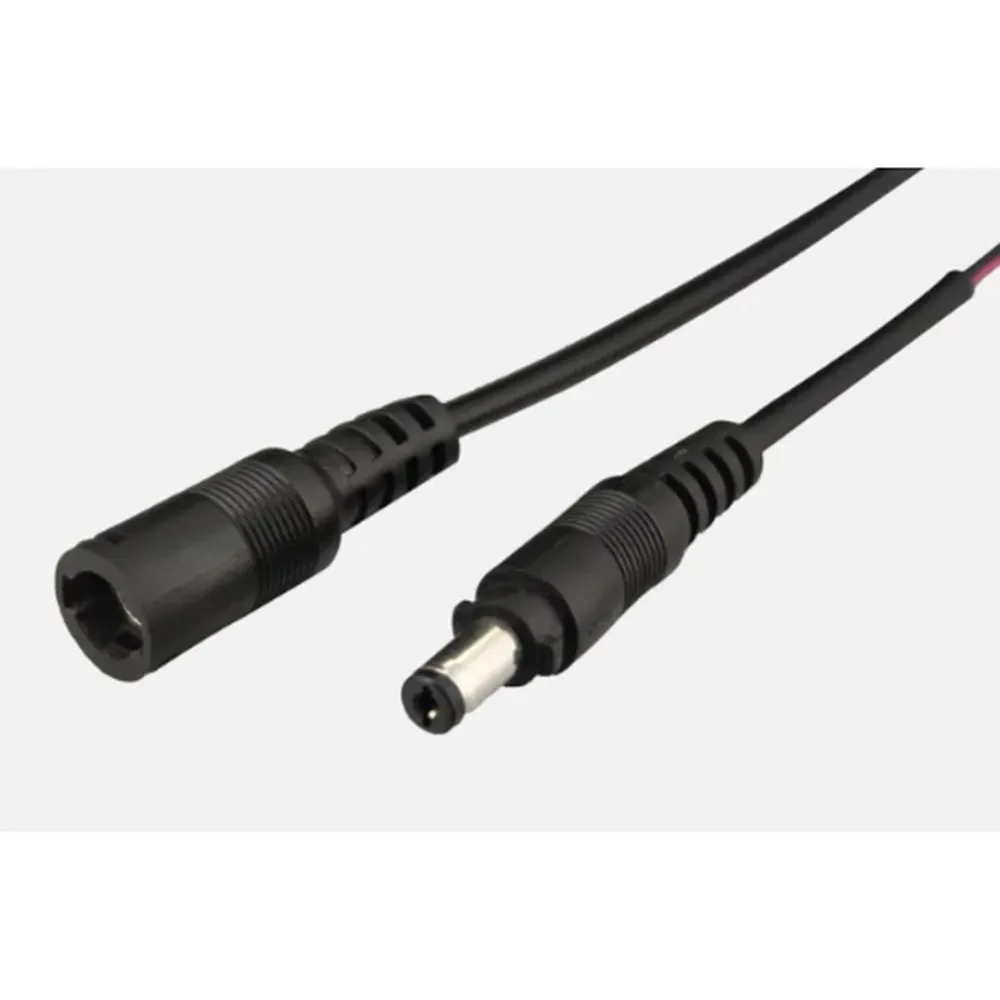
Built for plug-and-play cabinet lightingThe whole point of a puck light system is that it goes together without a junction box, without wire nuts and without an electrician standing by for every connection. This
2M extension cable keeps that promise. It carries the same plug-in connector format as the puck lights and splitters in the family, so the connection is mechanical, repeatable and reversible. There is nothing to strip, nothing to twist, and nothing that can be wired backwards. For a contractor, that means a cabinet run goes from bare millwork to finished lighting in minutes; for a homeowner doing a weekend upgrade, it means the job actually gets finished on Sunday.
Why 2 metres is the length you keep reaching forPuck lights usually ship with a short lead — long enough to reach a splitter that sits directly above, and never long enough for anything else. Real kitchens don't cooperate. The driver hides in the sink base, the splitter sits in the corner cabinet, the last puck is over the fridge. A 2 metre run bridges those gaps cleanly: across a cabinet gable, down a chase, along the back of a valance, or from an upper cabinet down to a hidden driver location. Using an extension instead of splicing also protects the integrity of the system — no exposed copper, no tape, no mystery connection buried behind a finished panel that the next trade has to troubleshoot.
Technical specificationsSKU: LCPK-EXTENSION-2M
Type: Extension cable for LED puck lights
Length: 2 m
Connection: Plug-in, no tools required
Application: Residential and commercial projects
Compatibility and system planningThis
puck light extension cable is an accessory for the LED puck light system: it plugs between a puck light and a splitter, or between a splitter and the driver, extending the distance without changing anything else in the layout. It works hand in hand with the
LED puck light splitter – 8 ports – 3A/port, which lets you branch a single feed out to multiple pucks; the splitter handles the fan-out, the extension handles the distance. When you plan a run, count your pucks first, choose the splitter port count, then measure the longest cable path and add extensions only where they're needed. Keep drivers accessible — inside a sink base, a pantry gable or a service panel in the millwork — so the system can be serviced later without dismantling cabinetry.
Installation tips and documentationDrill clean pass-throughs (a standard cabinet grommet hole is plenty) and route the cable along the top back edge of the cabinet where it disappears behind the crown or the valance. Leave a small service loop at each connector so the plug is never under tension, and secure the cable with cable clips or adhesive saddles rather than staples, which can pinch a low-voltage conductor. Never coil excess cable into a tight bundle right on top of a driver; give it room to breathe. No specific documentation is currently posted for this accessory — the installation is straightforward plug-in work — so if you're specifying a full cabinet-lighting package, refer to the puck light and splitter pages for the electrical details of the system as a whole.